Over the past week, Sean & I have been working on a project that I have been wanting to do for awhile now -- some shelves! When we moved into our house, I really wanted some sort of open shelving in the kitchen. Since tearing out our cabinets & replacing them with shelves was out of the question, I thought that making some & placing them next to the kitchen would be a nice alternative. This ended up working out great because it offers a nice way for me to display my books & some plants. Here is how we made it!


We bought one piece of wood (sized to our preference) & some Minwax wood stain in the color dark walnut. The first step was to stain the wood! We let the board dry for about 24 hours. Once it was dry, we measured the wall where we wanted to hang the shelves so we could cut the board accordingly.
Once the boards were cut (& after some more staining) it was time to drill the holes. This was my first time ever using a saw & a drill with that weird bit thing to make the holes. I was intimidated at first to use the power tools, but I am glad that I'm learning! Hopefully that means I will be able to make more projects like this in the future :)
Next, rope was used to connect the shelves, hooks were screwed into the wall & then...
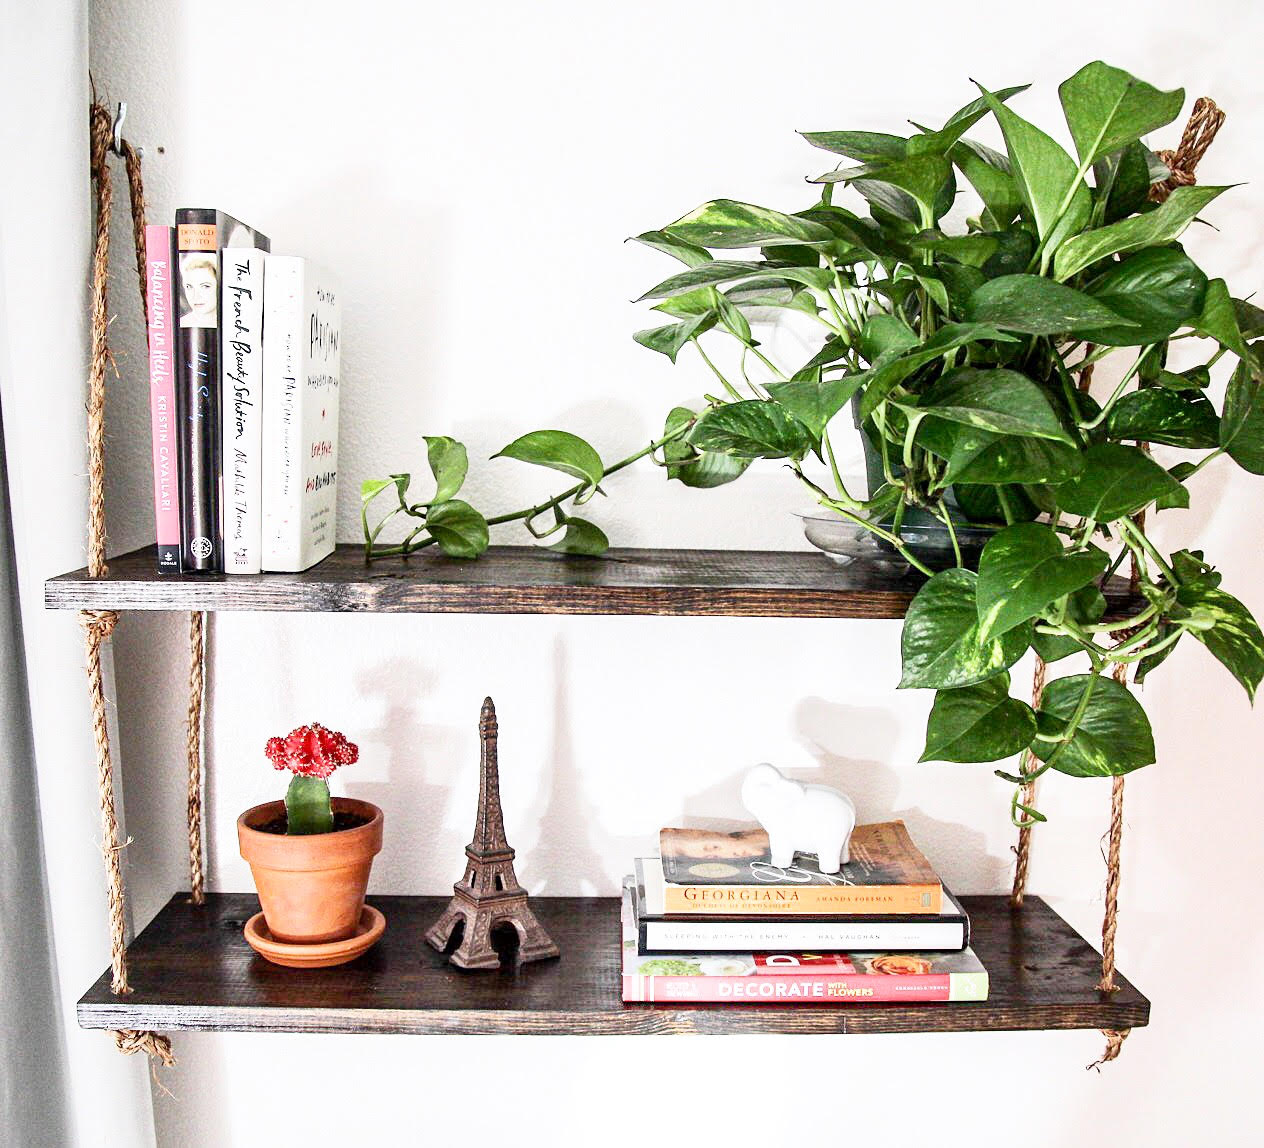
...we had the finised product! I'm so happy with it & think it turned out pretty great! What do you think? XOXO