Backyard Talk

Since we bought our house four years ago, we have slowly been working on our backyard. We began by putting in a big patio, a fence to divide our side from our tenants & a nice shed.

Our backyard, although very large, isn’t very nice. It is uneven, the grass isn’t good & we have a huge mole problem. Sean recently removed all of the grass from our backyard so we could start fresh. He put in so much hard work & busted it out in one weekend!

The great thing is, we are working with a clean slate! We can take the time to decide what we want to do with this space. First things first, we have to get our mole problem taken care of. When that is under control, we can start with the fun stuff!

We’ve had many discussions about what we want out of our yard. I’ll share some of those ideas with you!

  1. A play area for the kids. Whether this be an actual play structure, swing set, sand box or a mud kitchen, we would love a place for the kiddos.

  2. Raised garden beds. For vegetables, flowers or a mix of both. I’ve been wanting some garden beds for quite some time!

  3. A fire pit. We already have a fire pit on our patio but one of our ultimate goals is to have a fire pit & sitting area out in the yard somewhere.

  4. Outdoor dining. We would love to utilize our patio as an outdoor dining room with a long table so we can enjoy meals outside with our family & friends. We recently sold our patio furniture with the intent of making this space a better area for dining.

You can peep at my outdoor spaces Pinterest board if you’d like to see some of our inspiration!

Lastly, what is a blog post without some pictures of the boys? Here they are getting a little dirty & helping dad out back! I’d like to think they are directing Sean as to where to put a play structure 😆 (I’m looking at you, Wyatt!)

Okay, how cute are those pictures & why are toddlers in rain boots so irresistible?!

xoxo
Powder Room Update

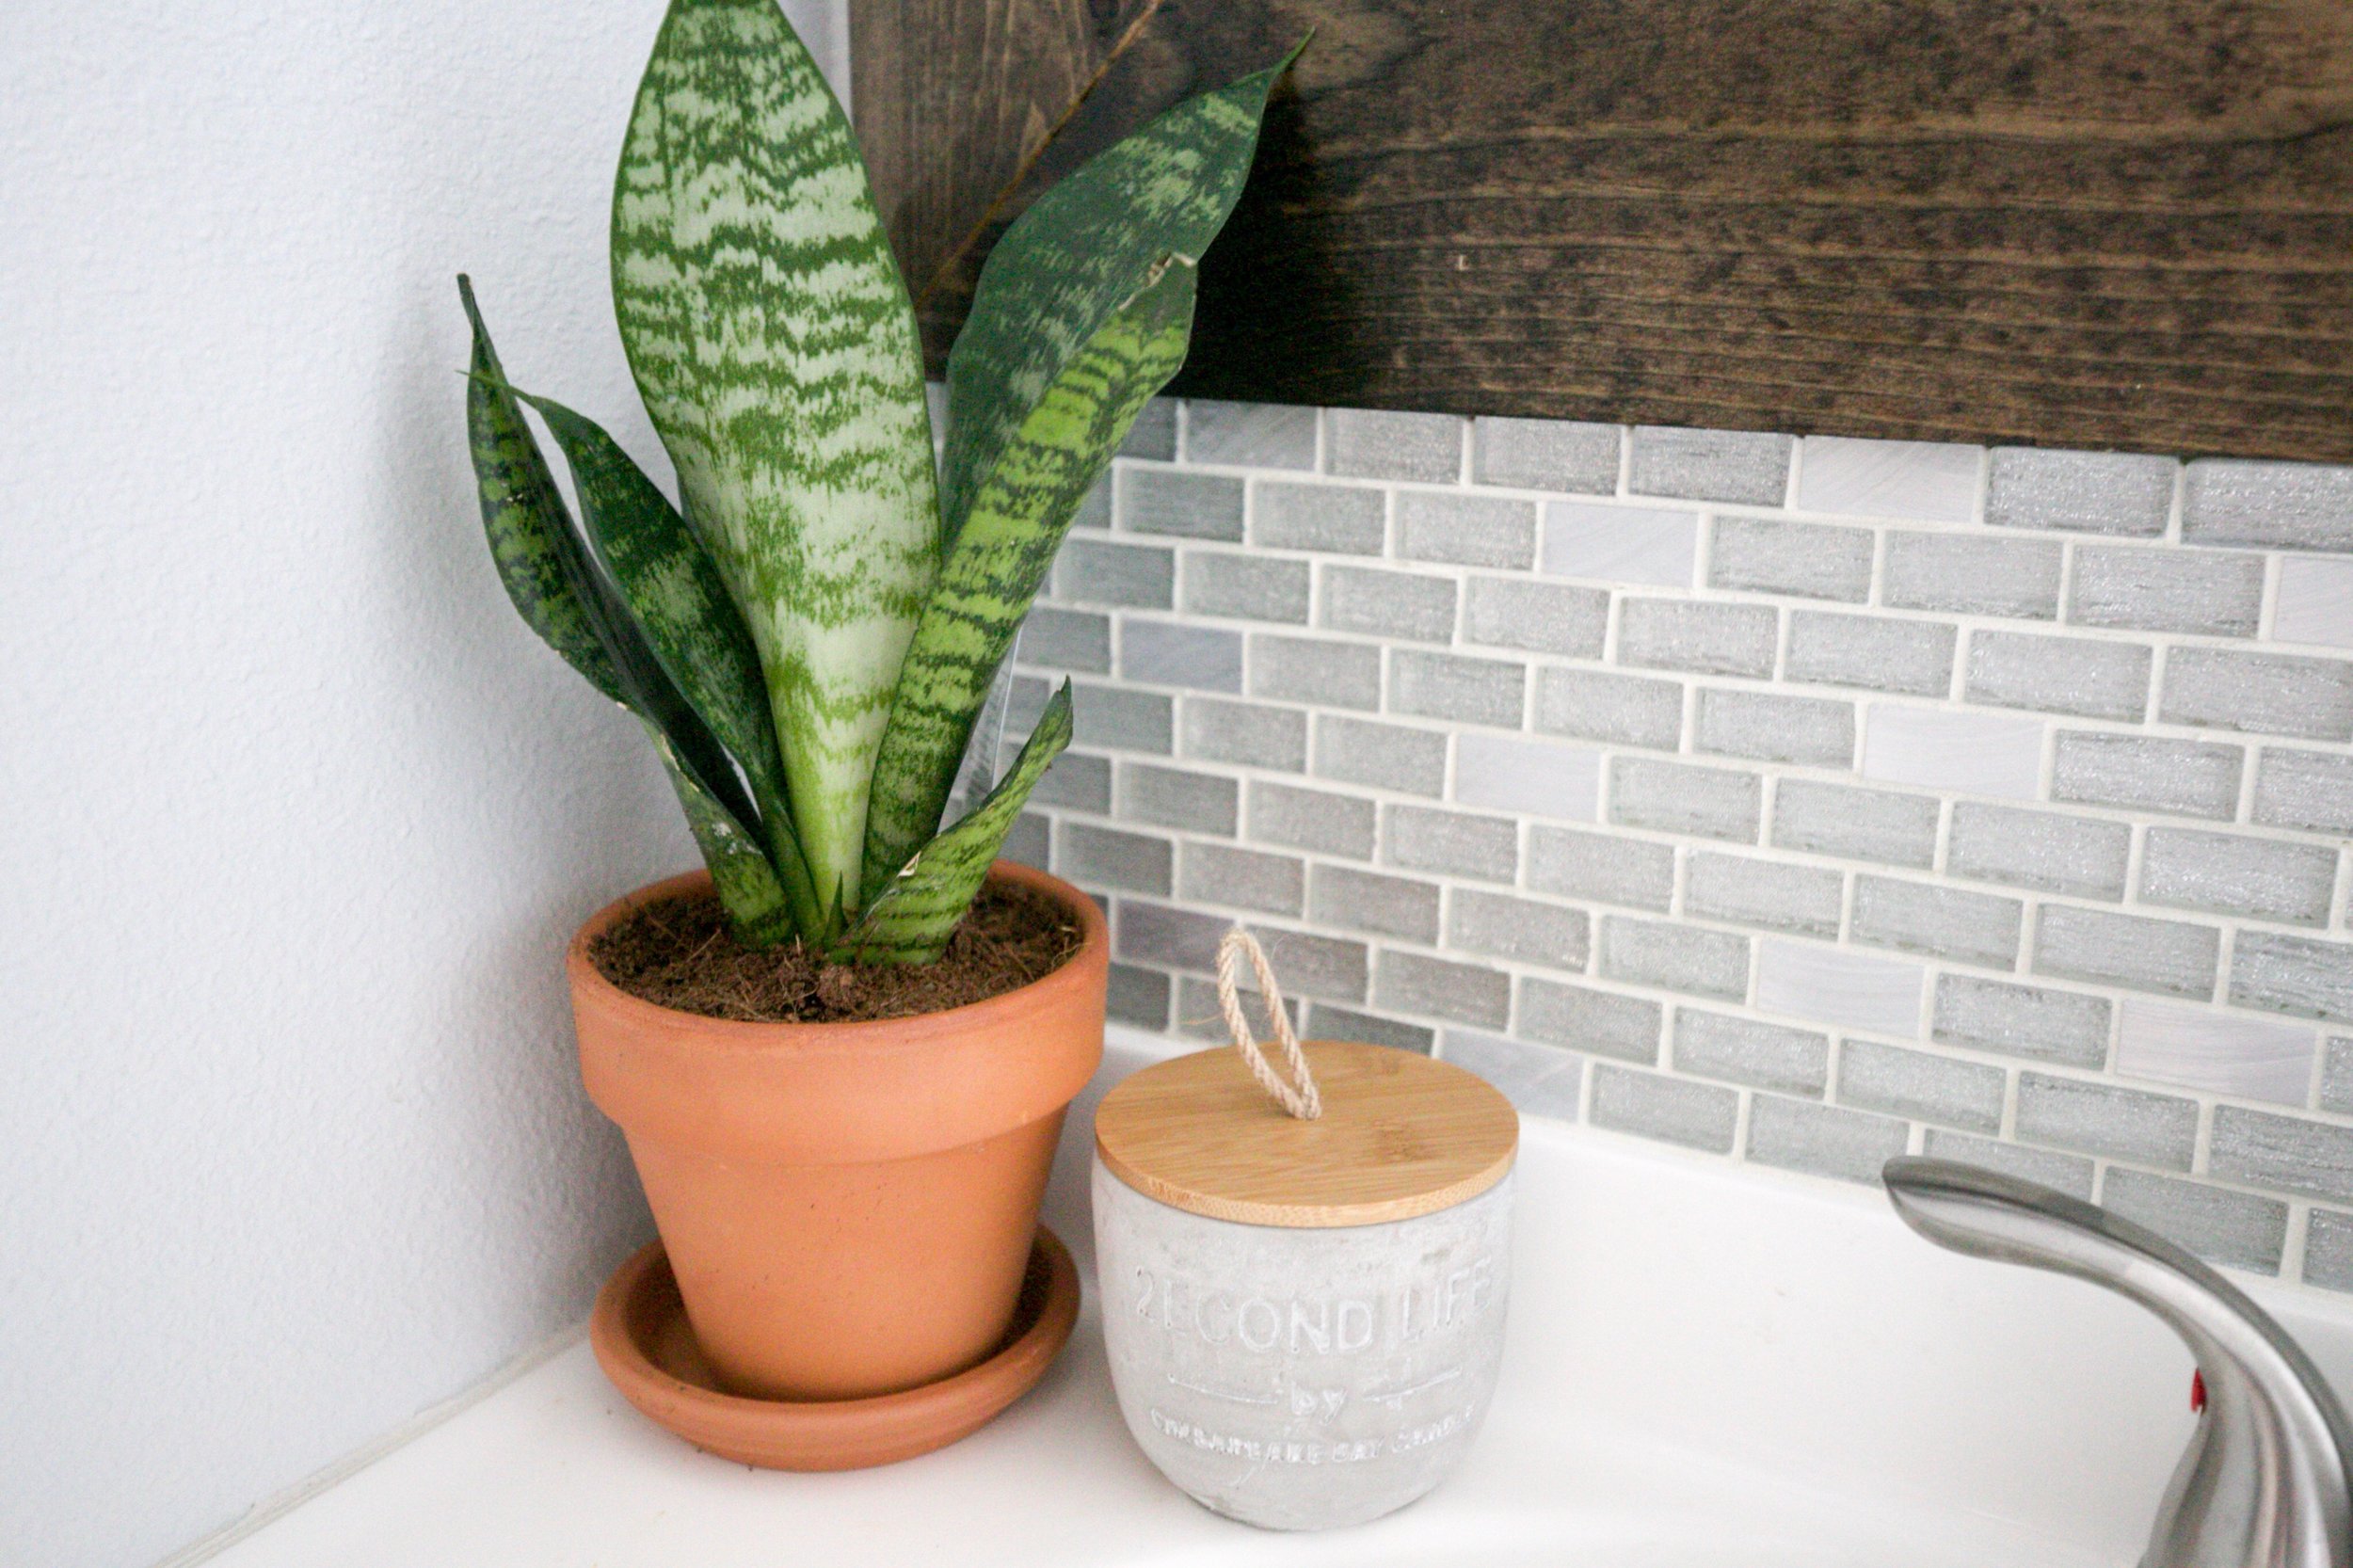
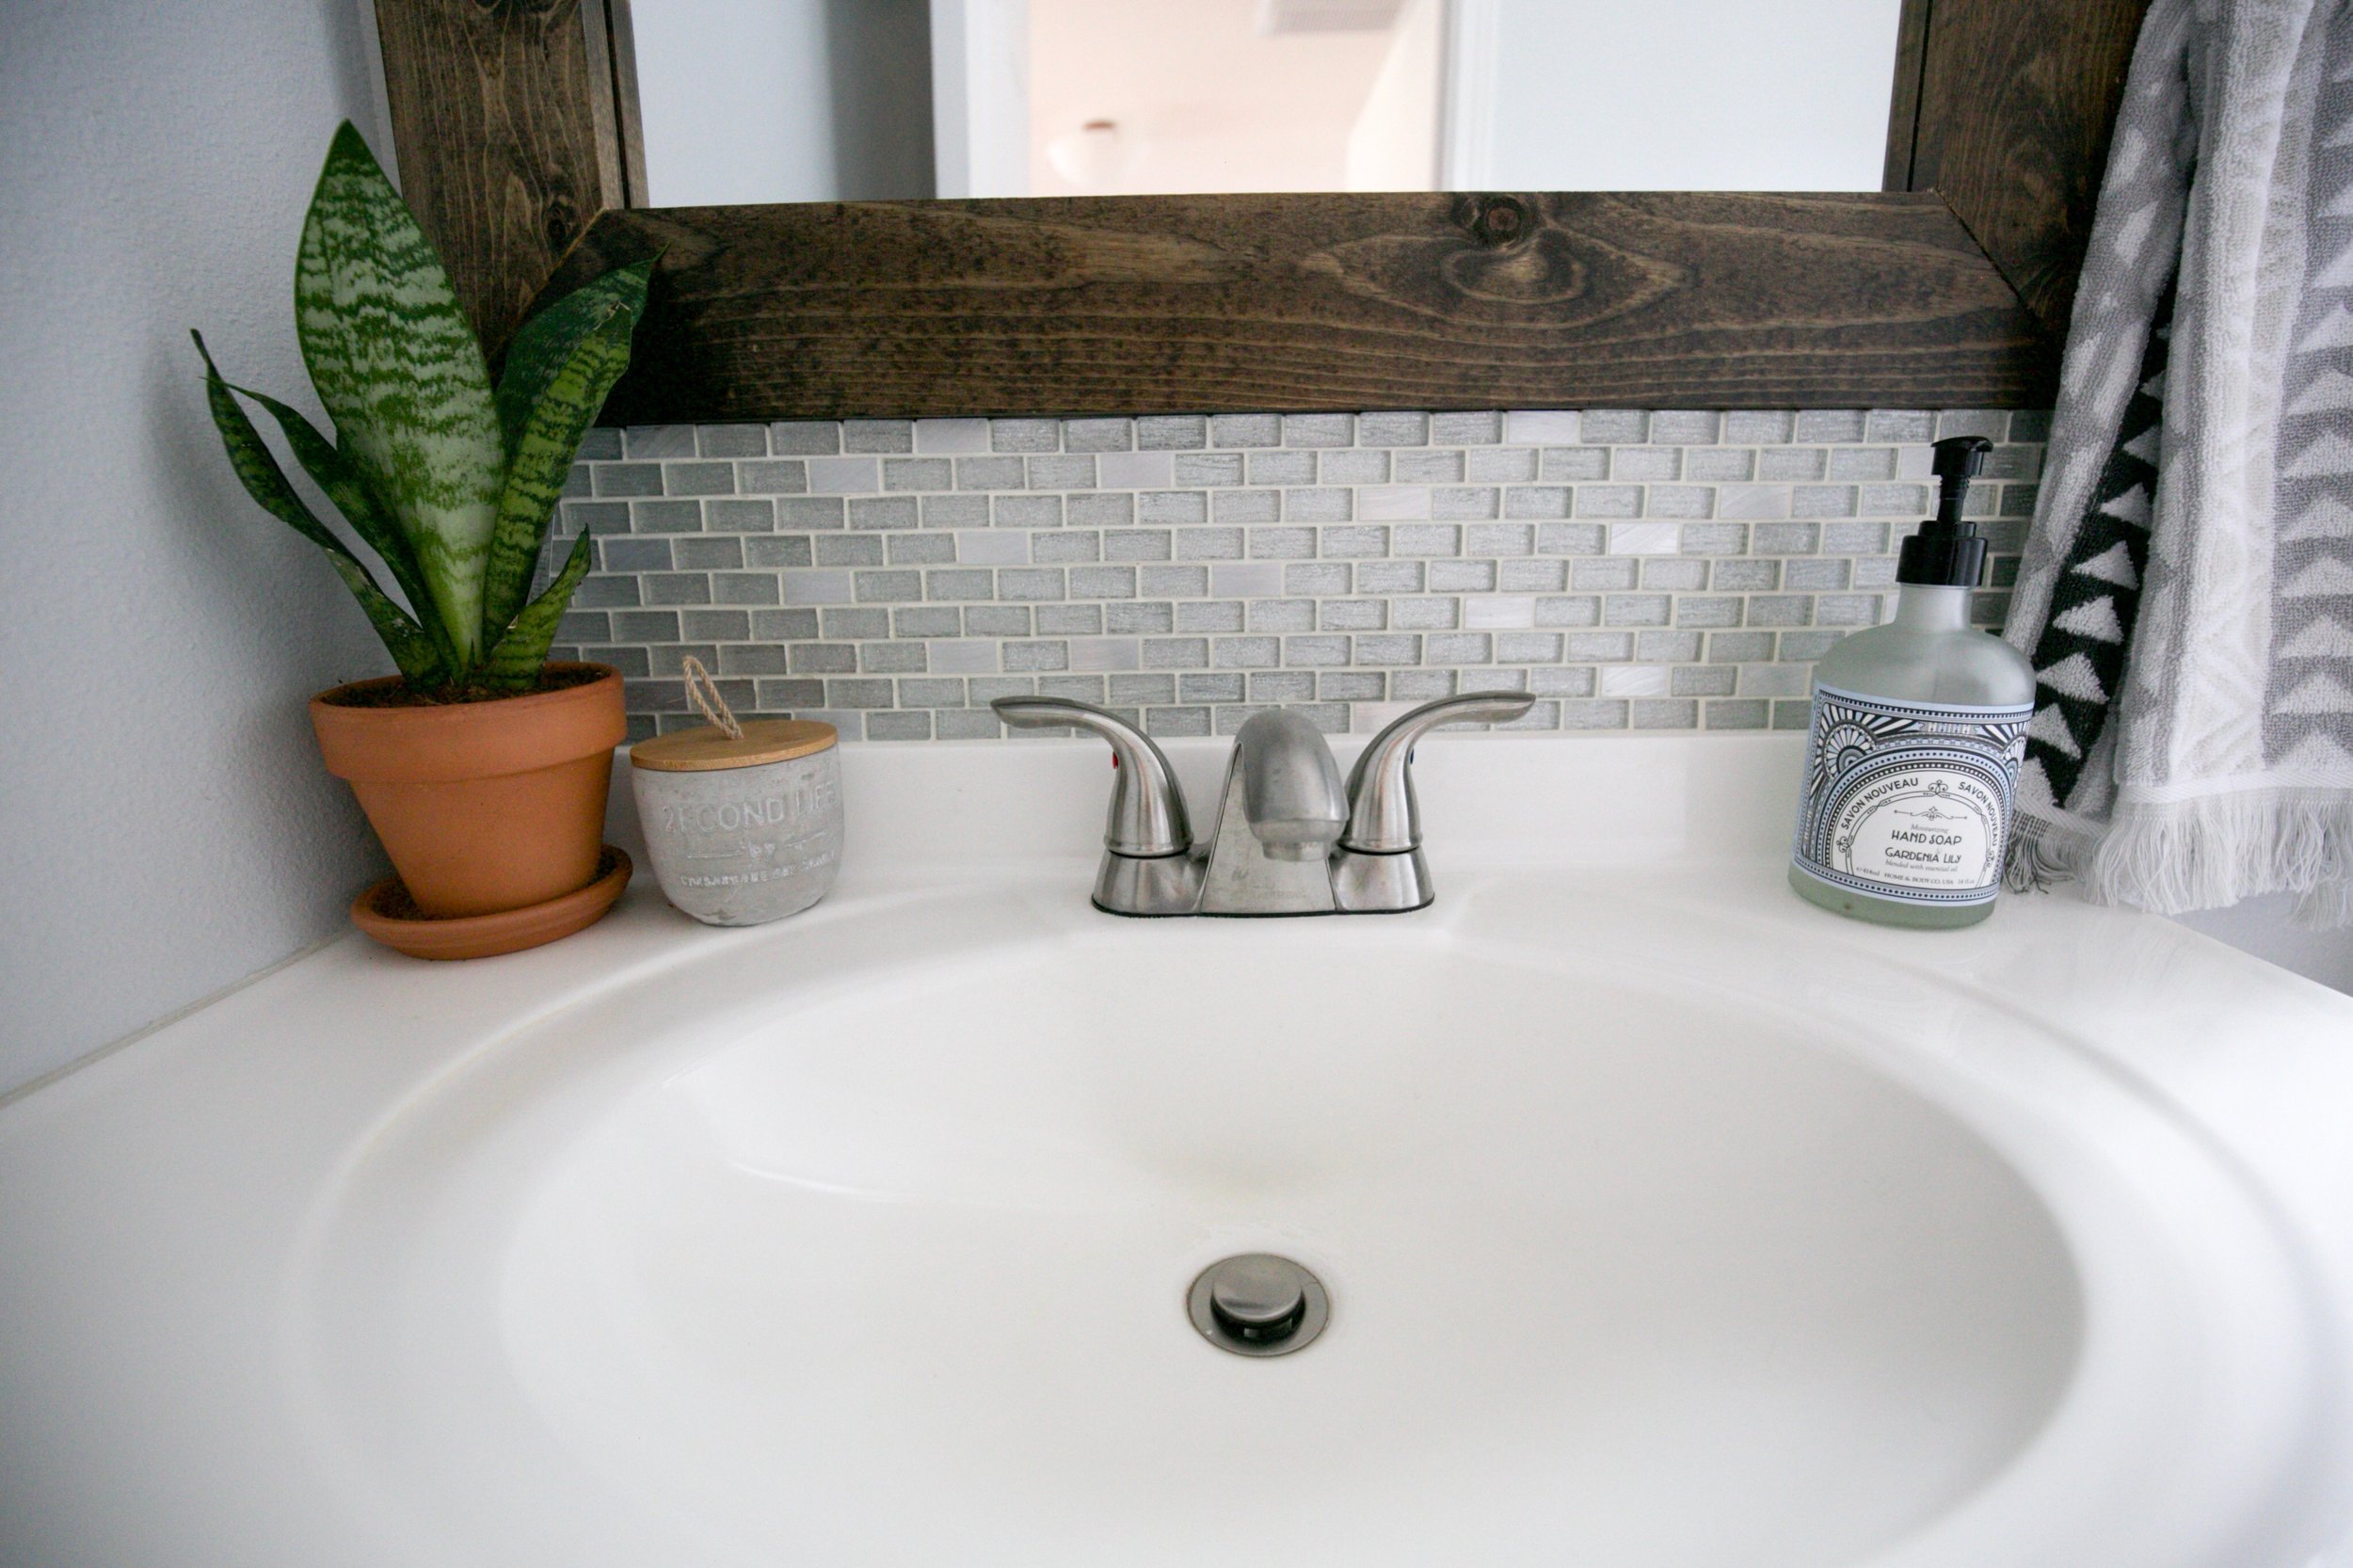
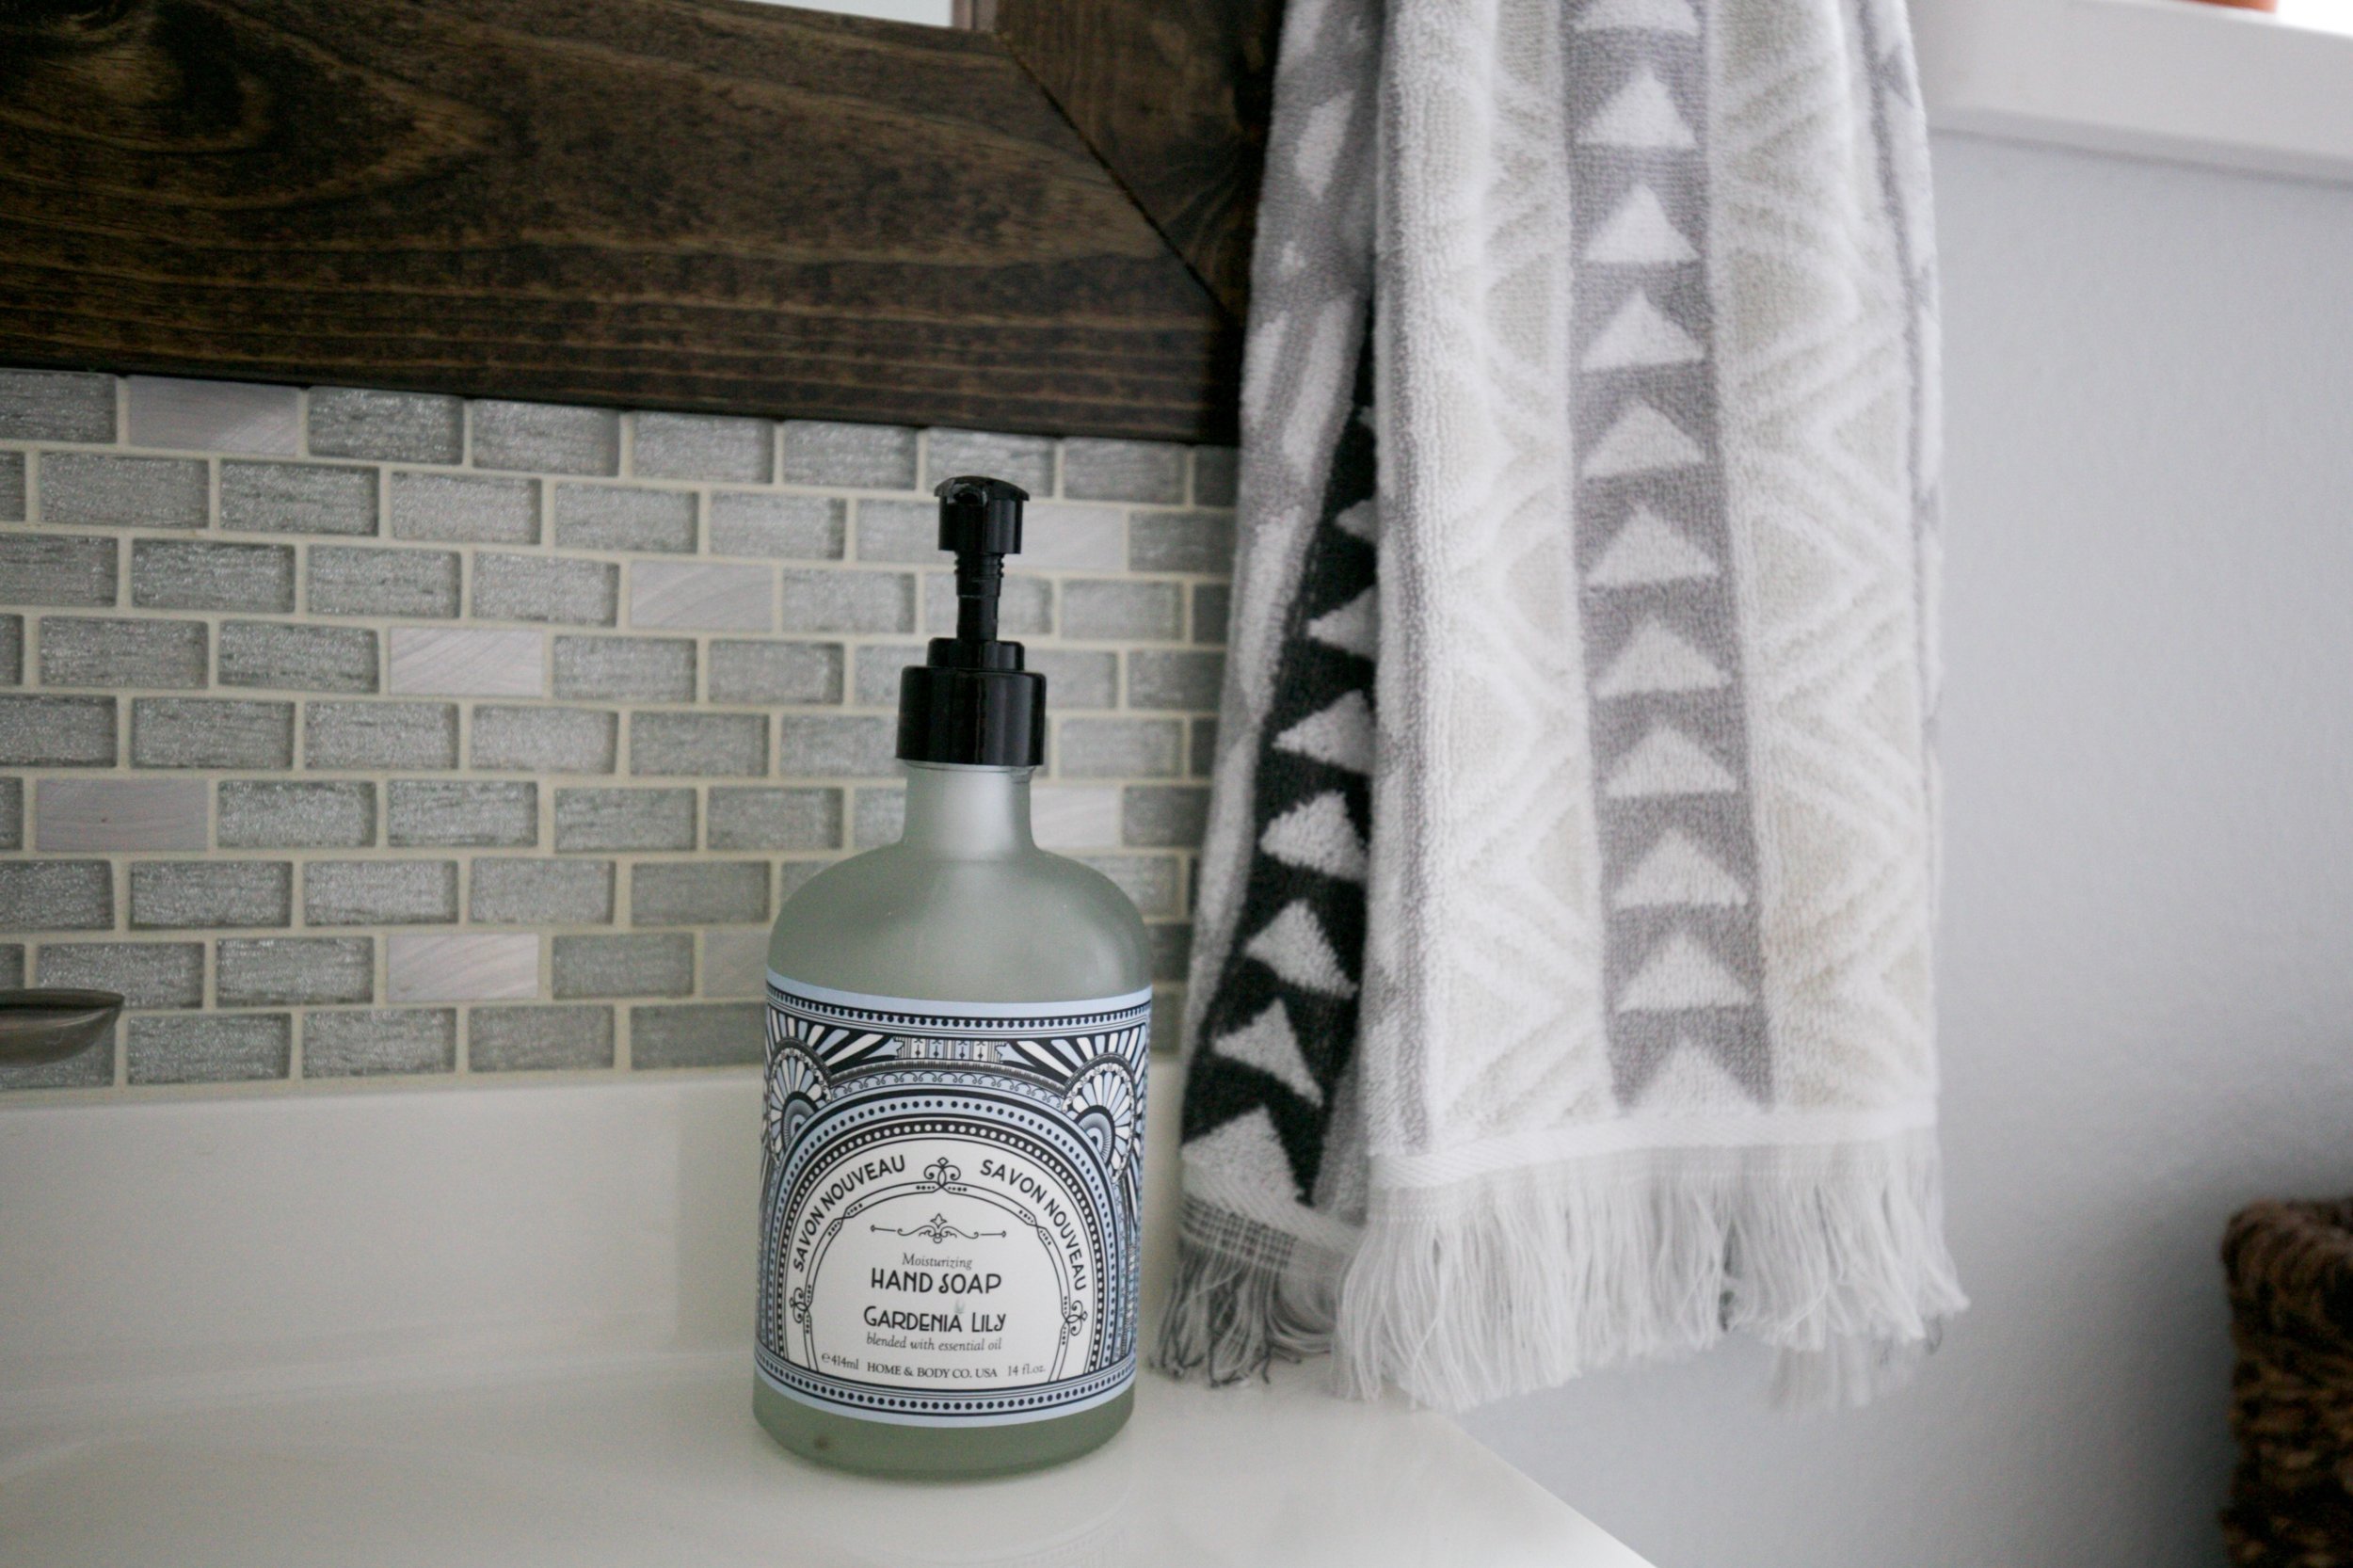
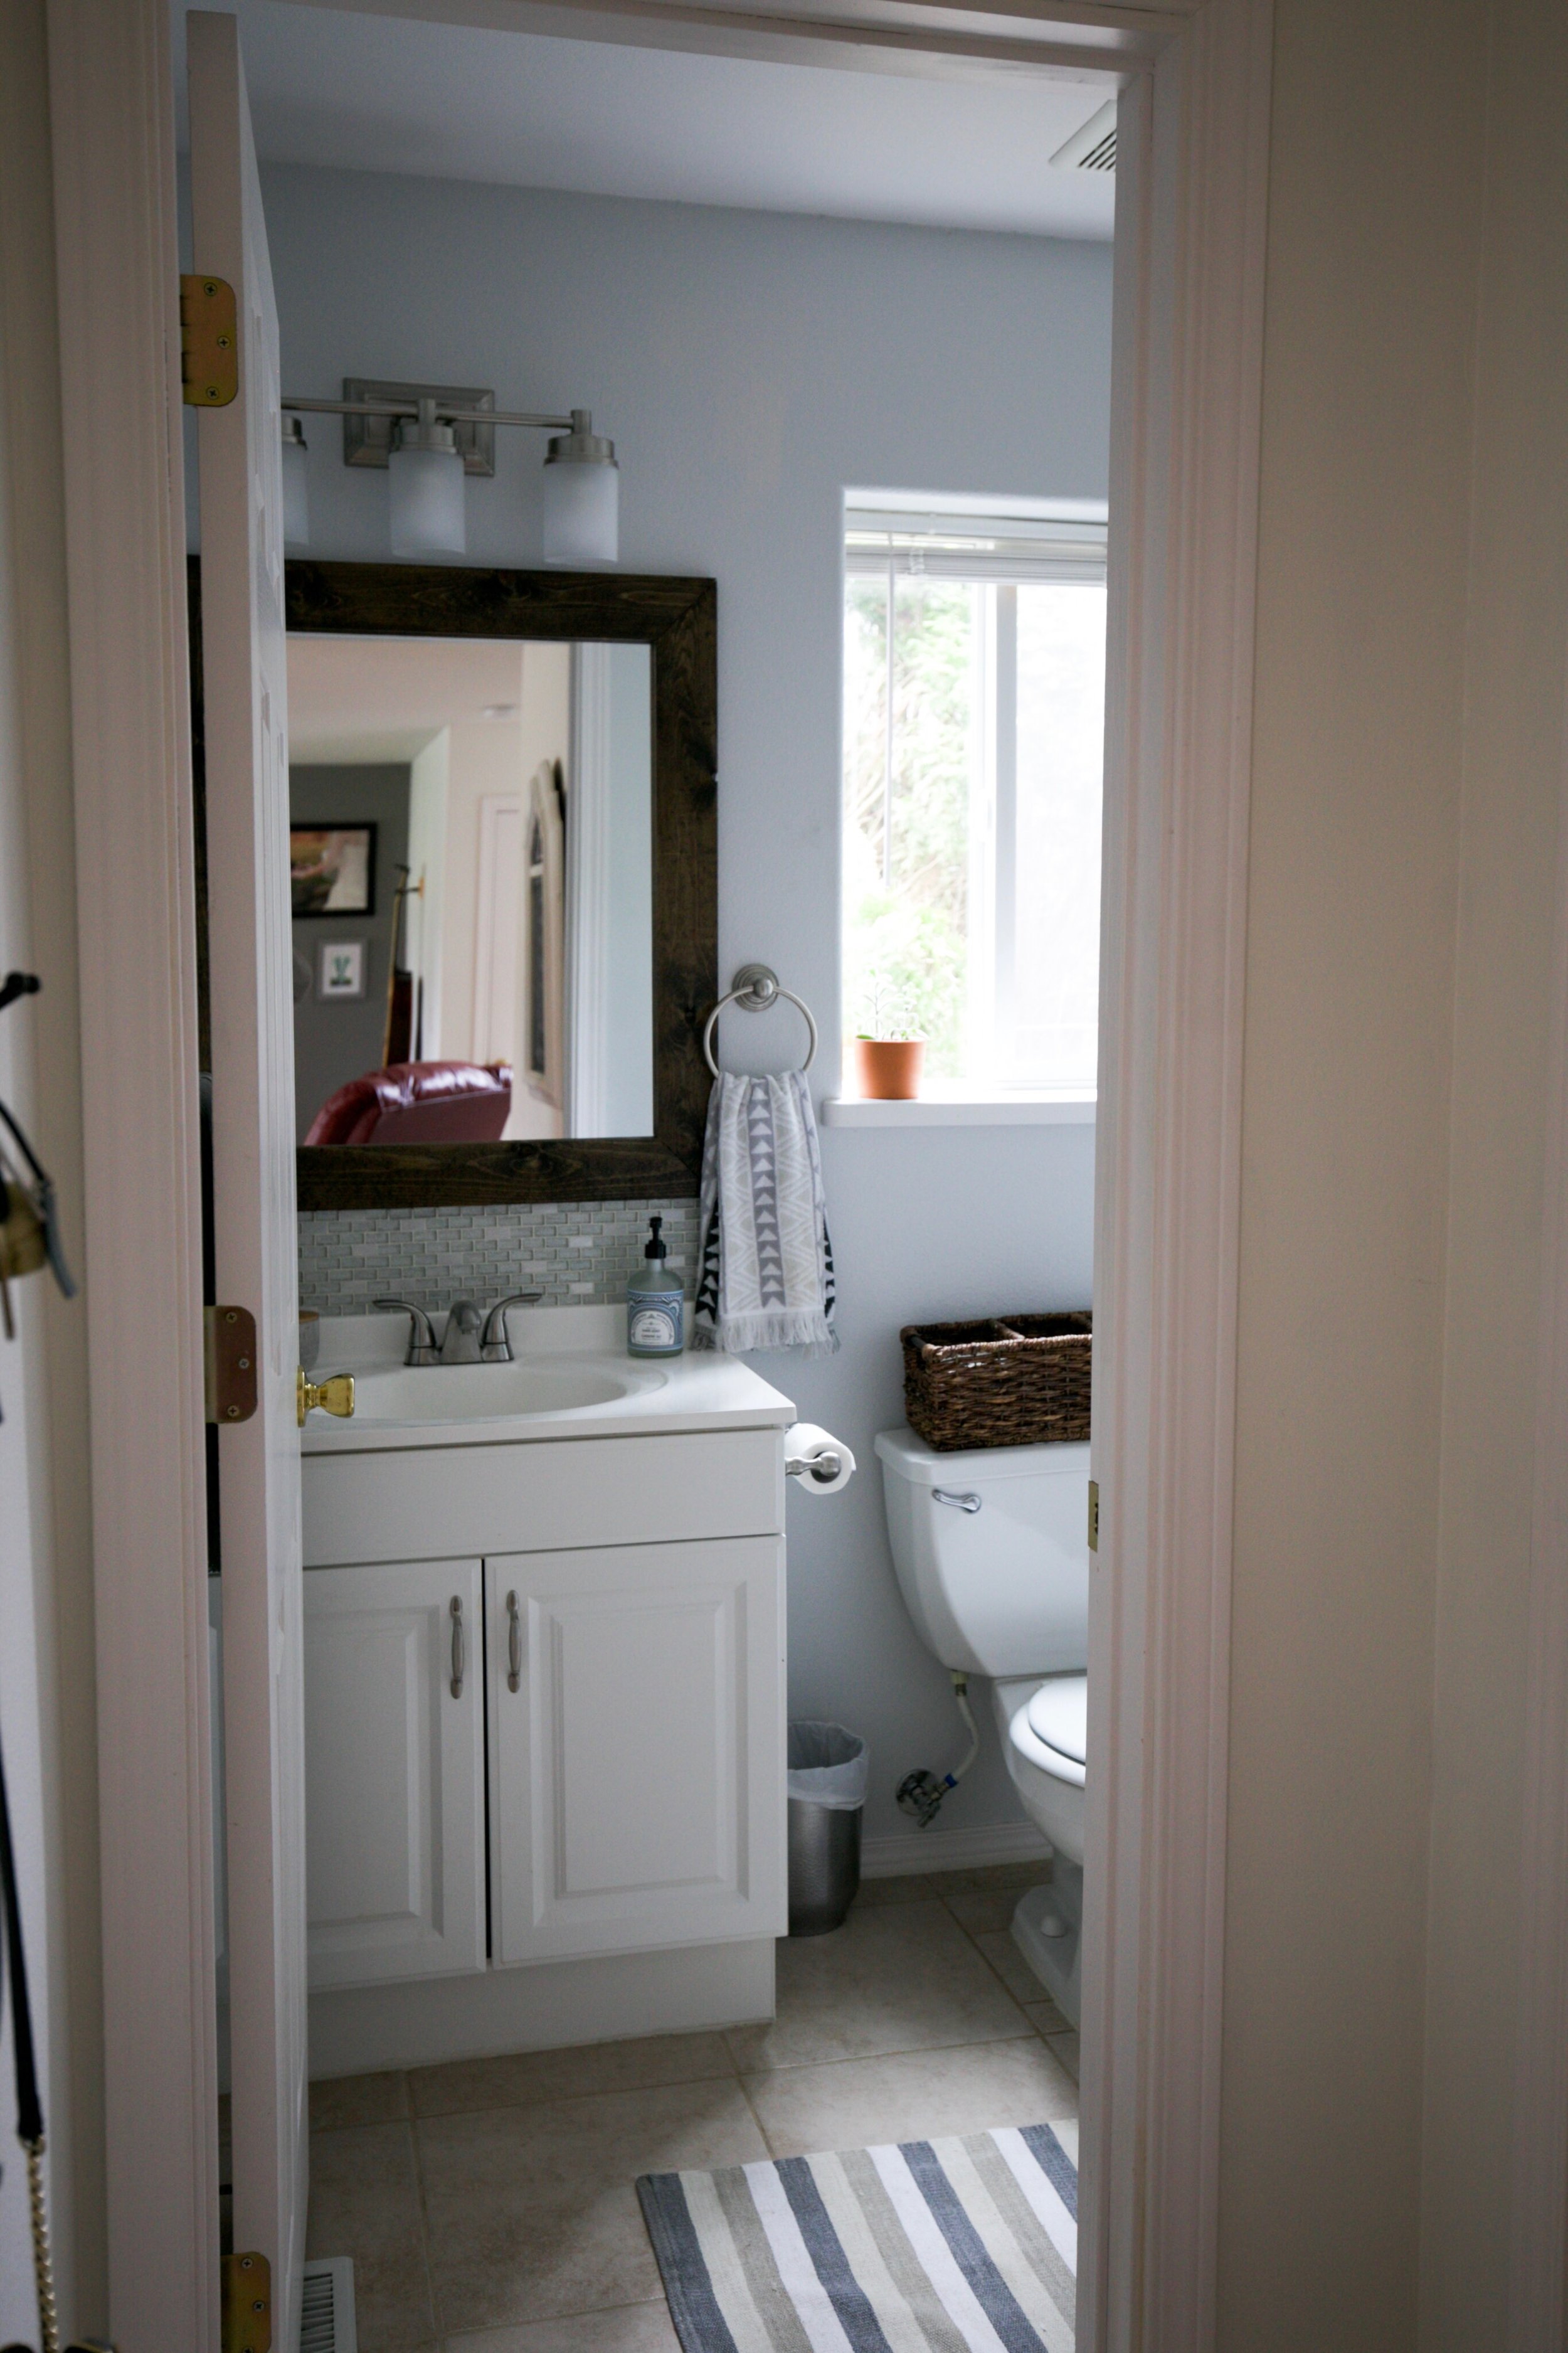
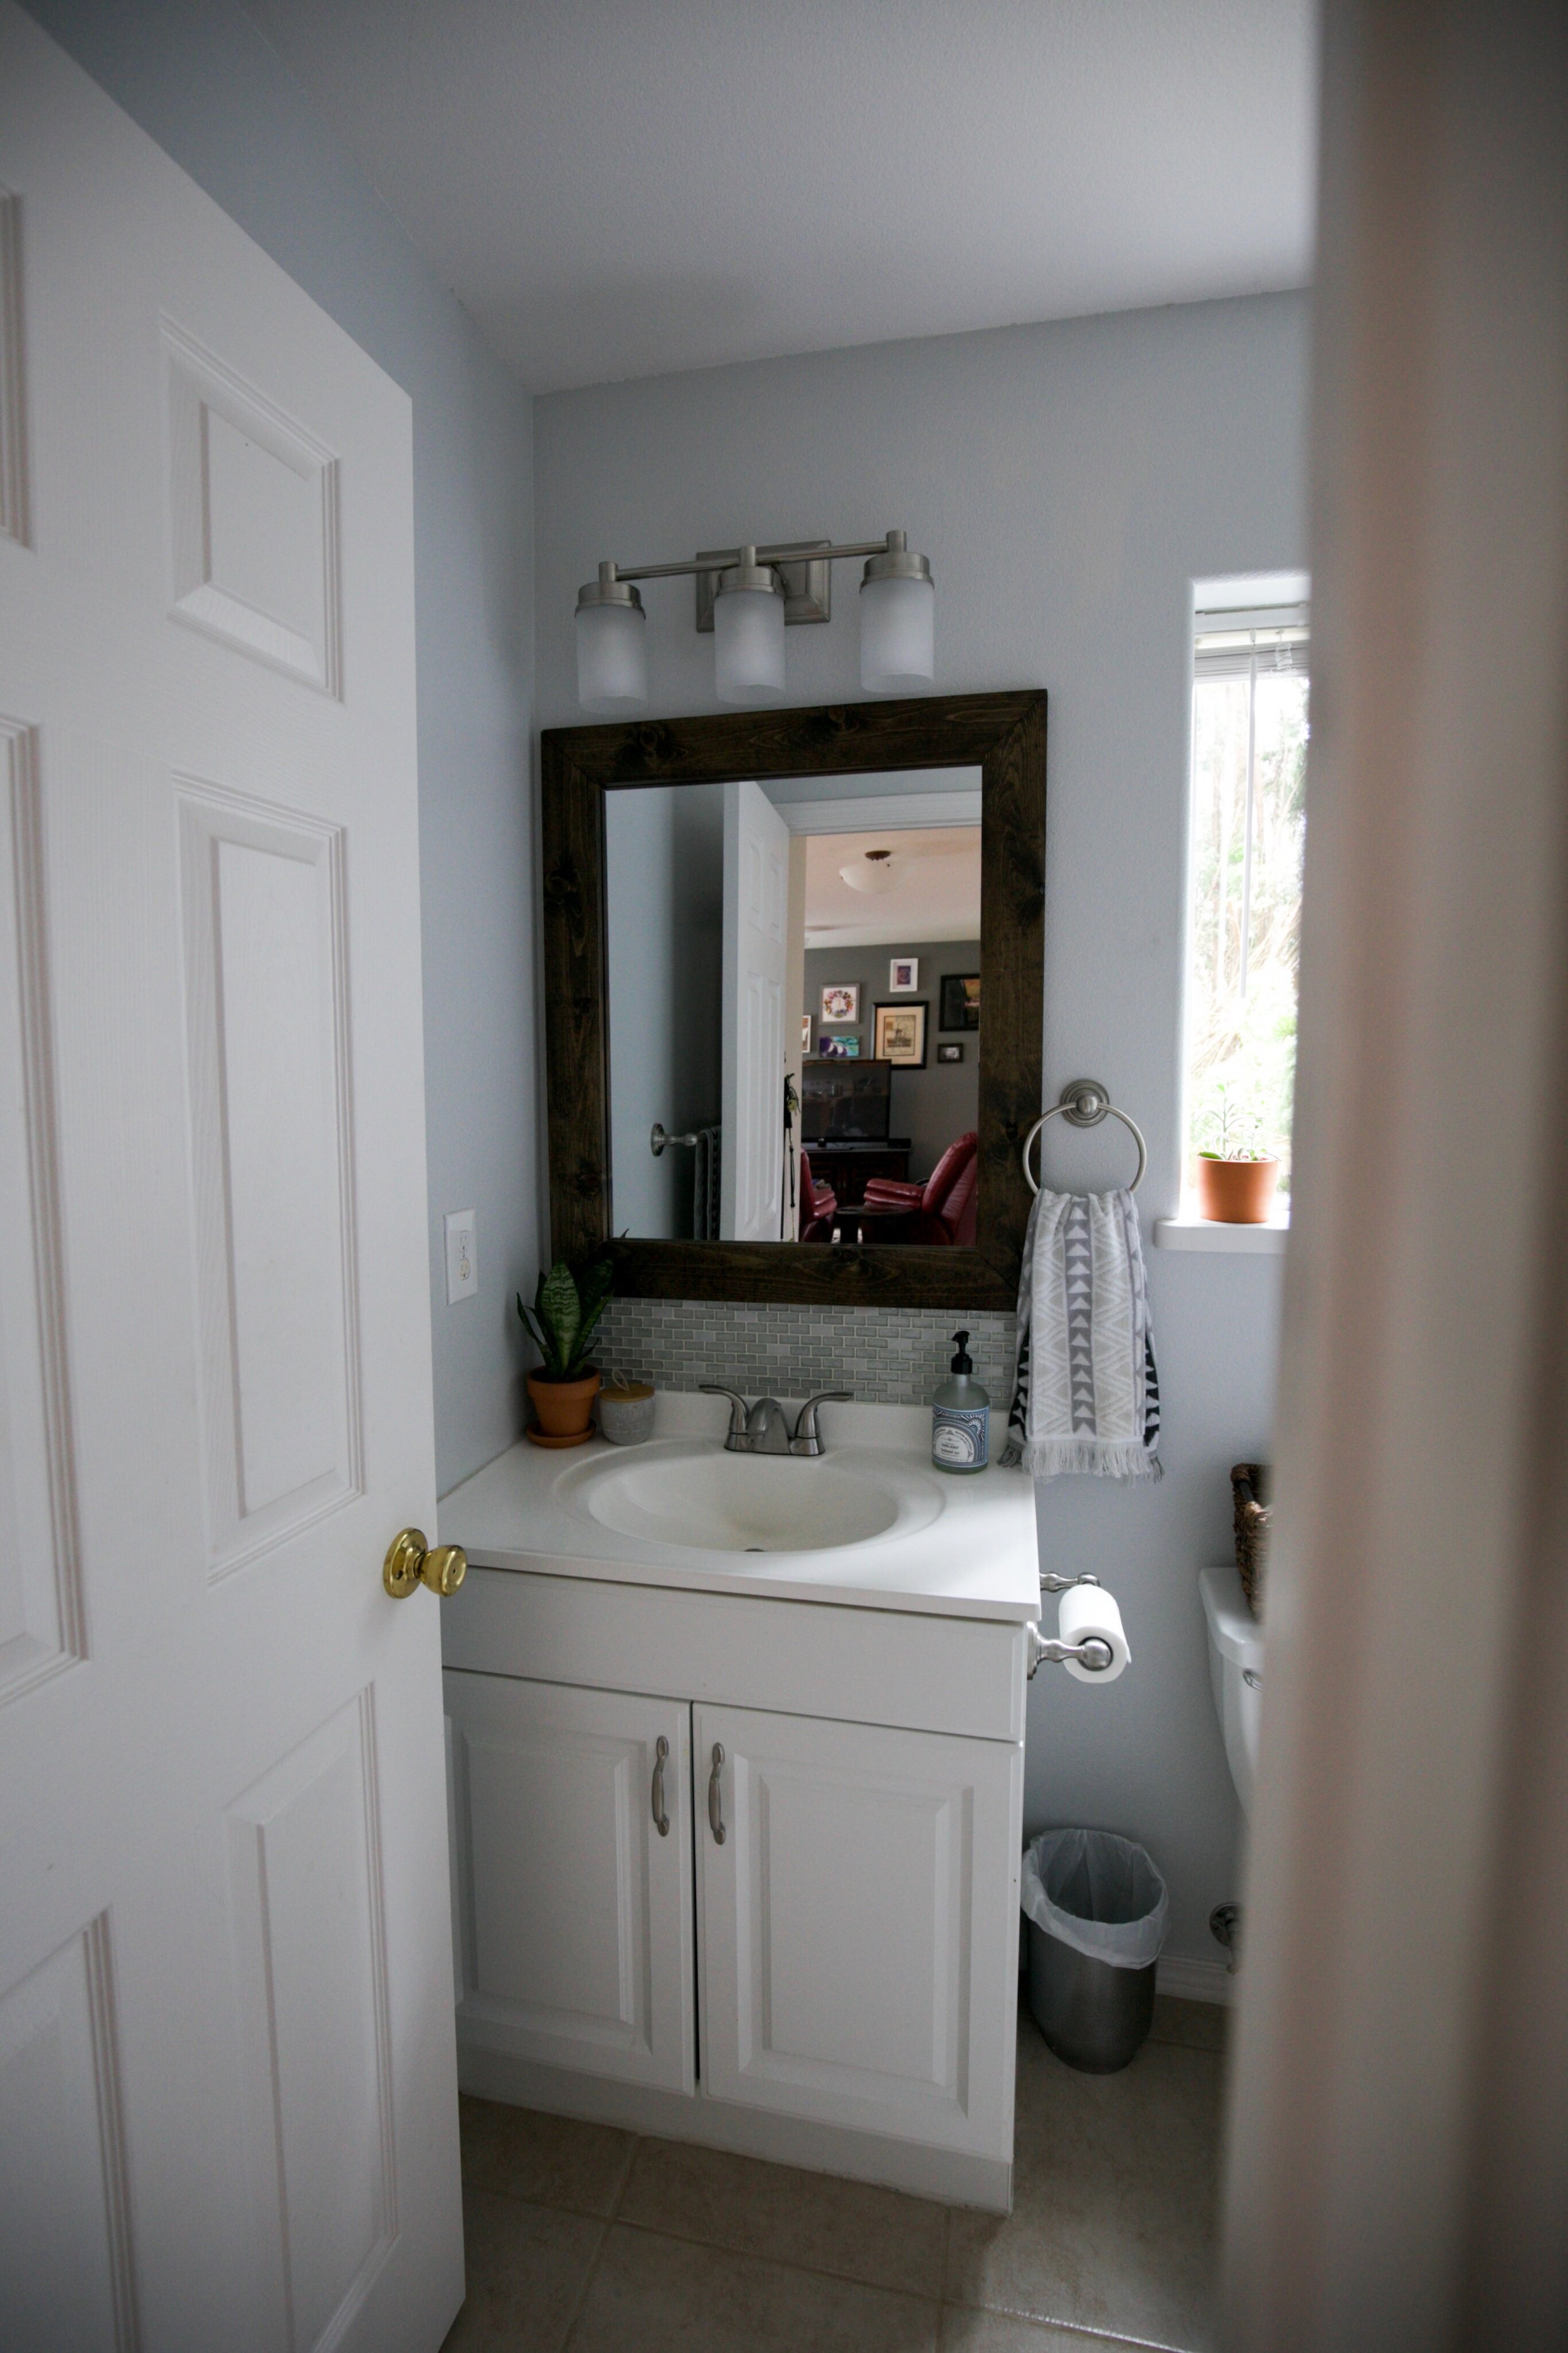
We have been in our house for nine months now!  It's crazy to think that it has almost been a year since we started this journey of being homeowners.  There have been ups & downs along the way (more on that another time) & we are still working away at making it the perfect home for us!  One major thing to check off our list was the downstairs powder room.  Eventually, I would like to change out the gold doorknobs on all of our doors & replace the window blinds to wooden or bamboo shades, but for now it's perfect!  I'm really happy with how it turned out.  Have a look! :)

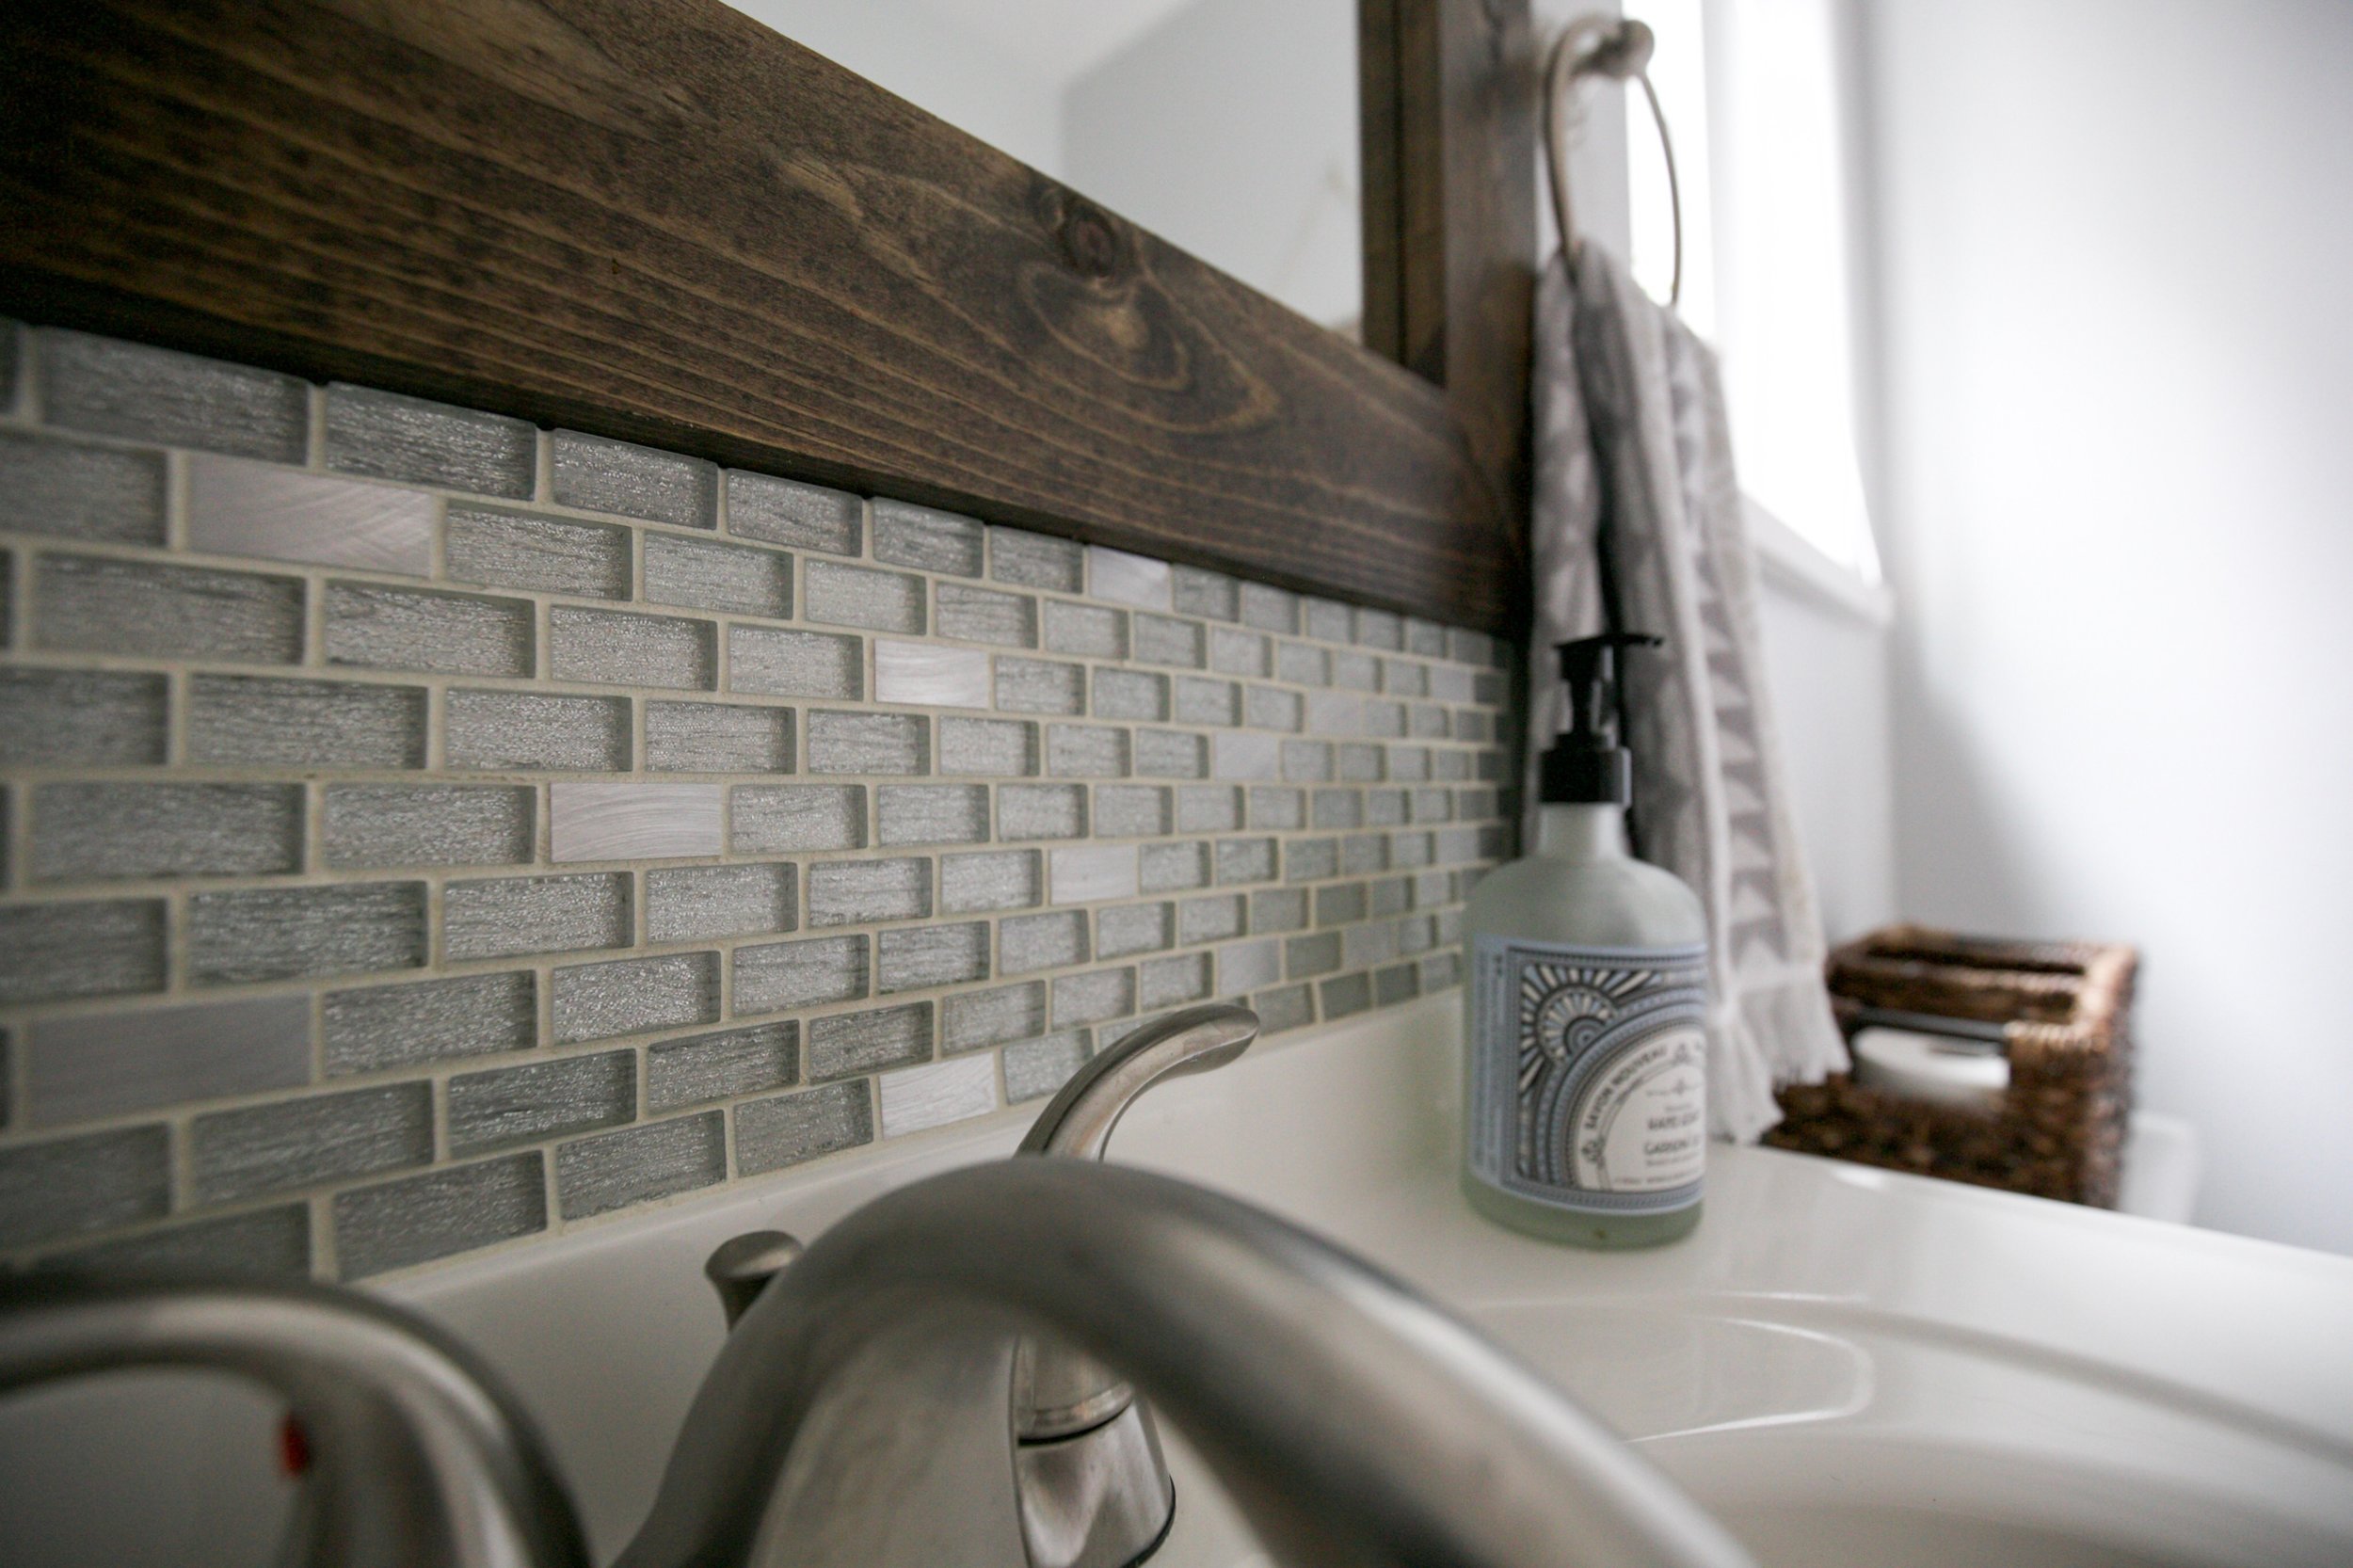
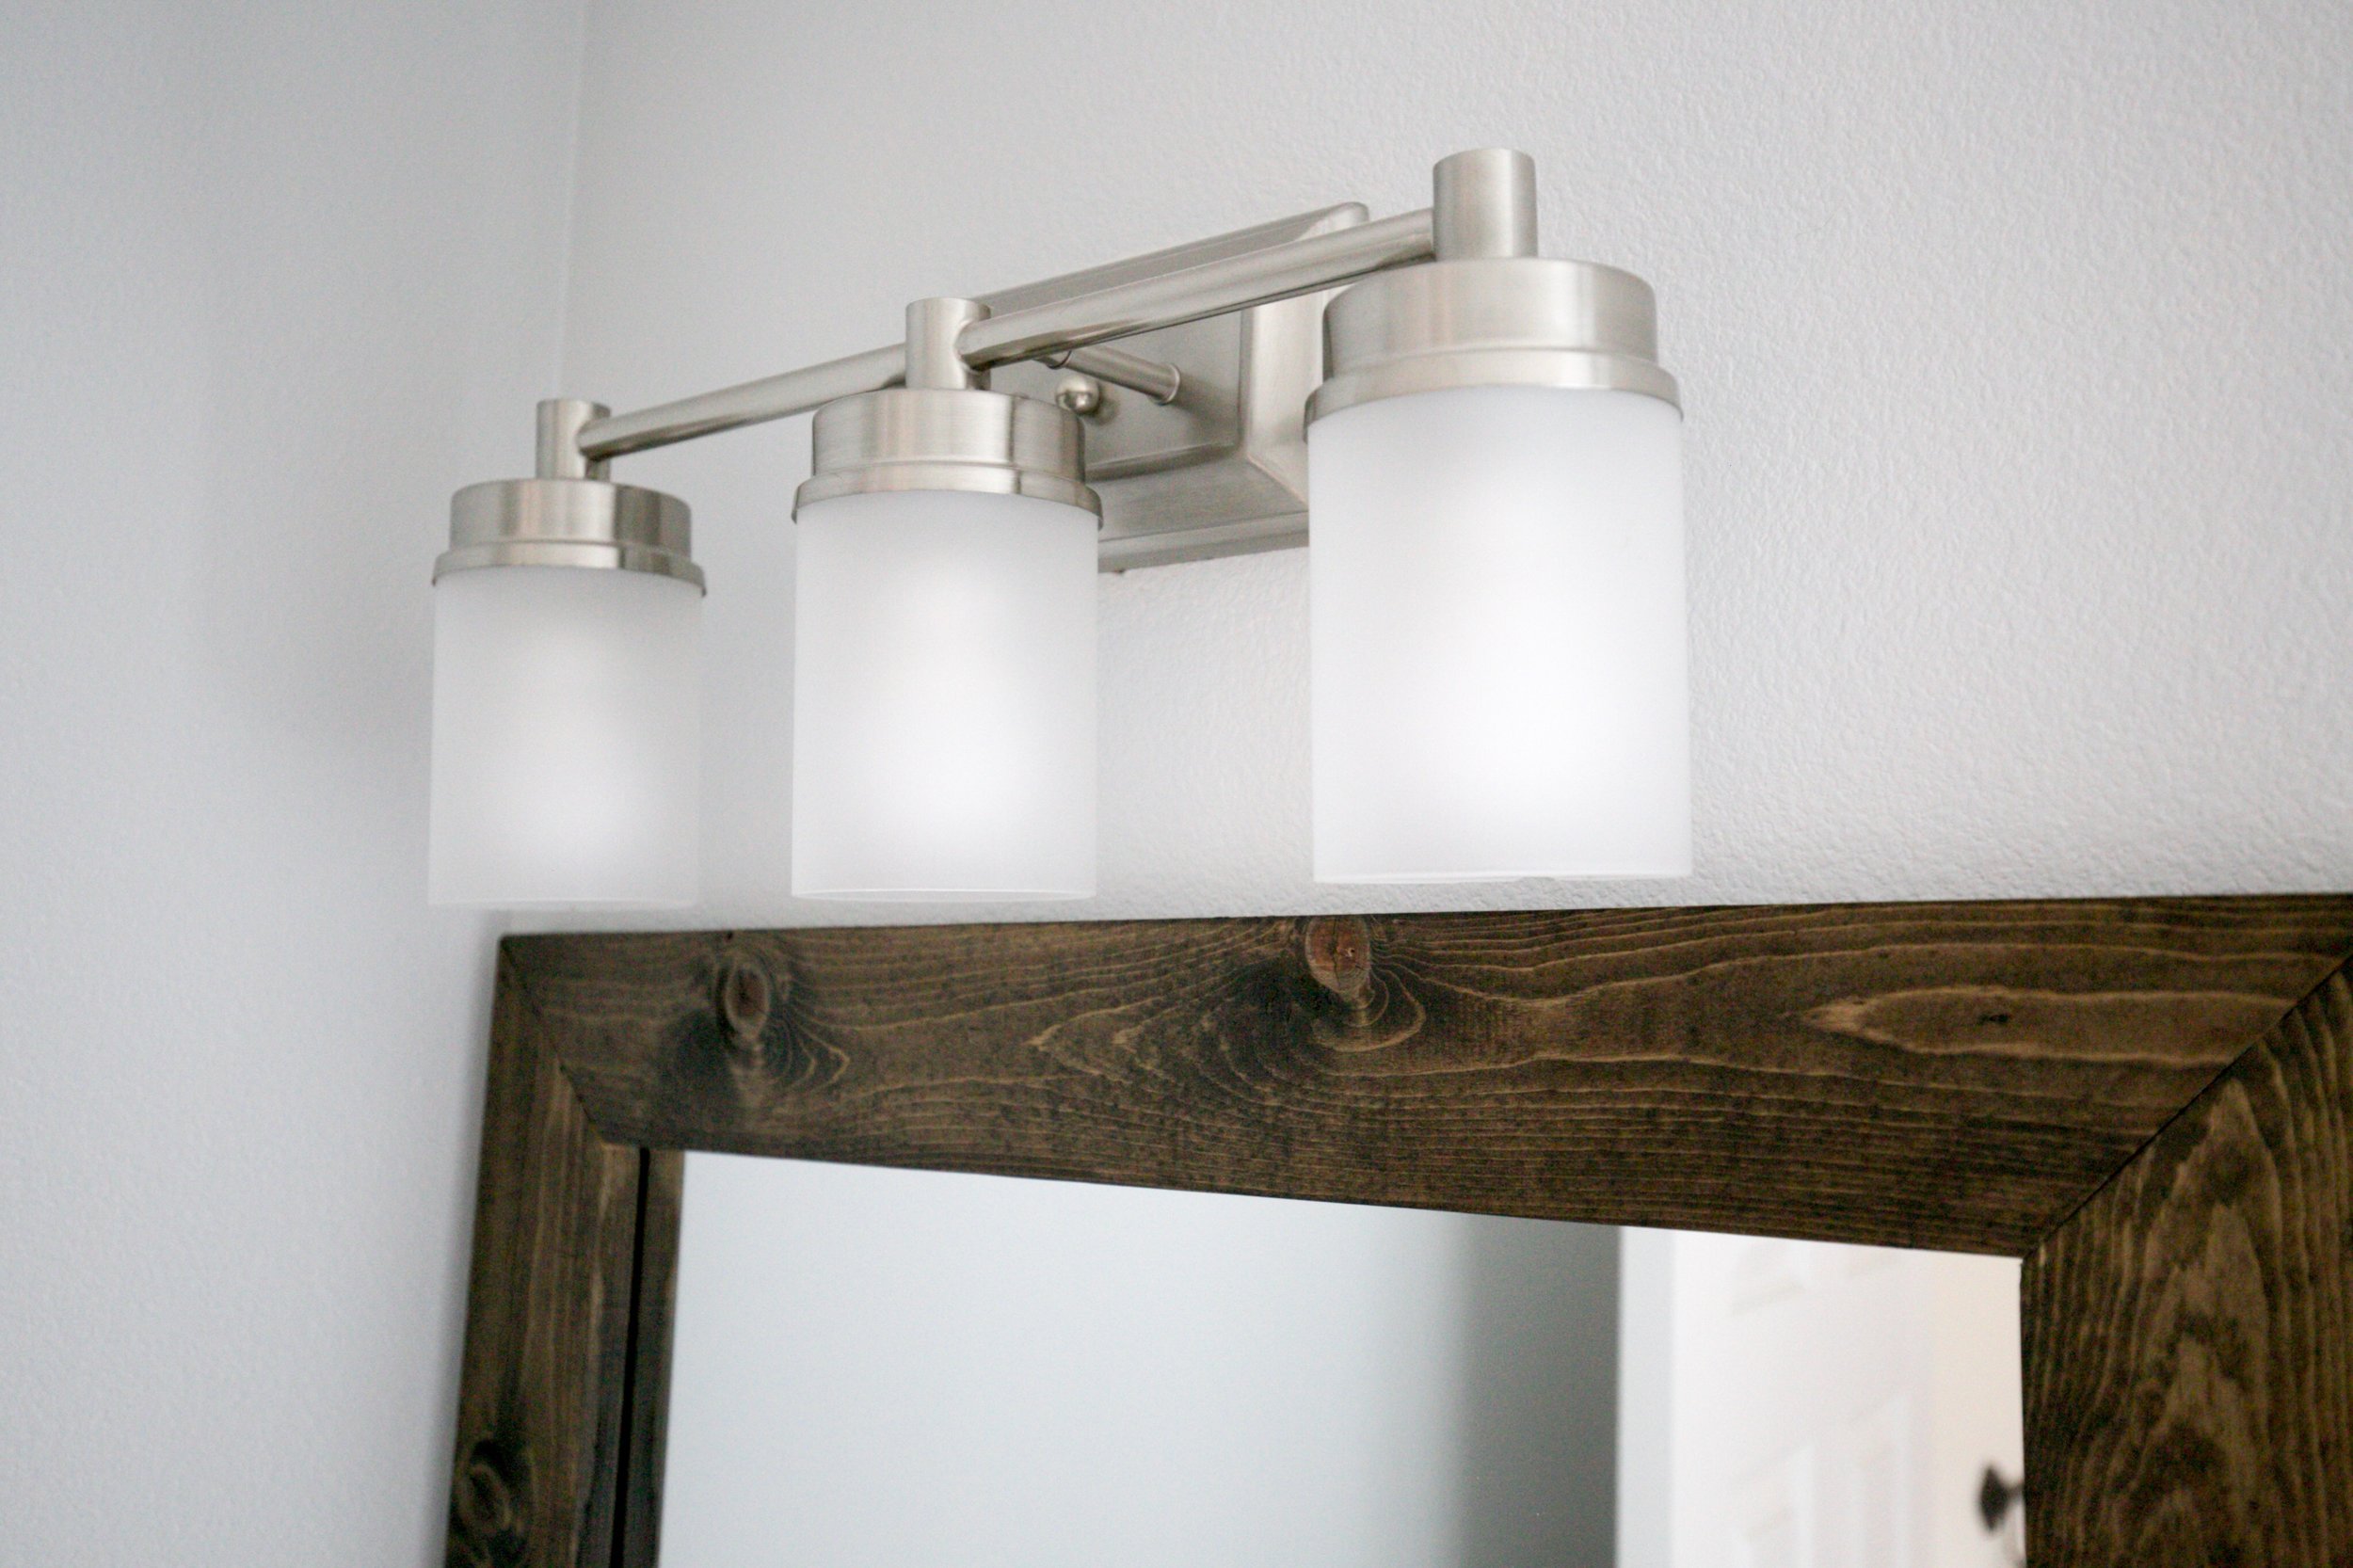
The first room I painted in our house was this bathroom, I actually started painting the day after we got our keys!  I used the color Polar Star by Valspar.  Another thing I wanted to do from the start was get a new mirror.  Turns out, the current mirror was glued to the wall & it wasn't coming down.  It was crooked & driving me crazy!  We decided to buy some wood & stain it, that way we could frame the mirror instead of buying a new one.  I think it turned out great!

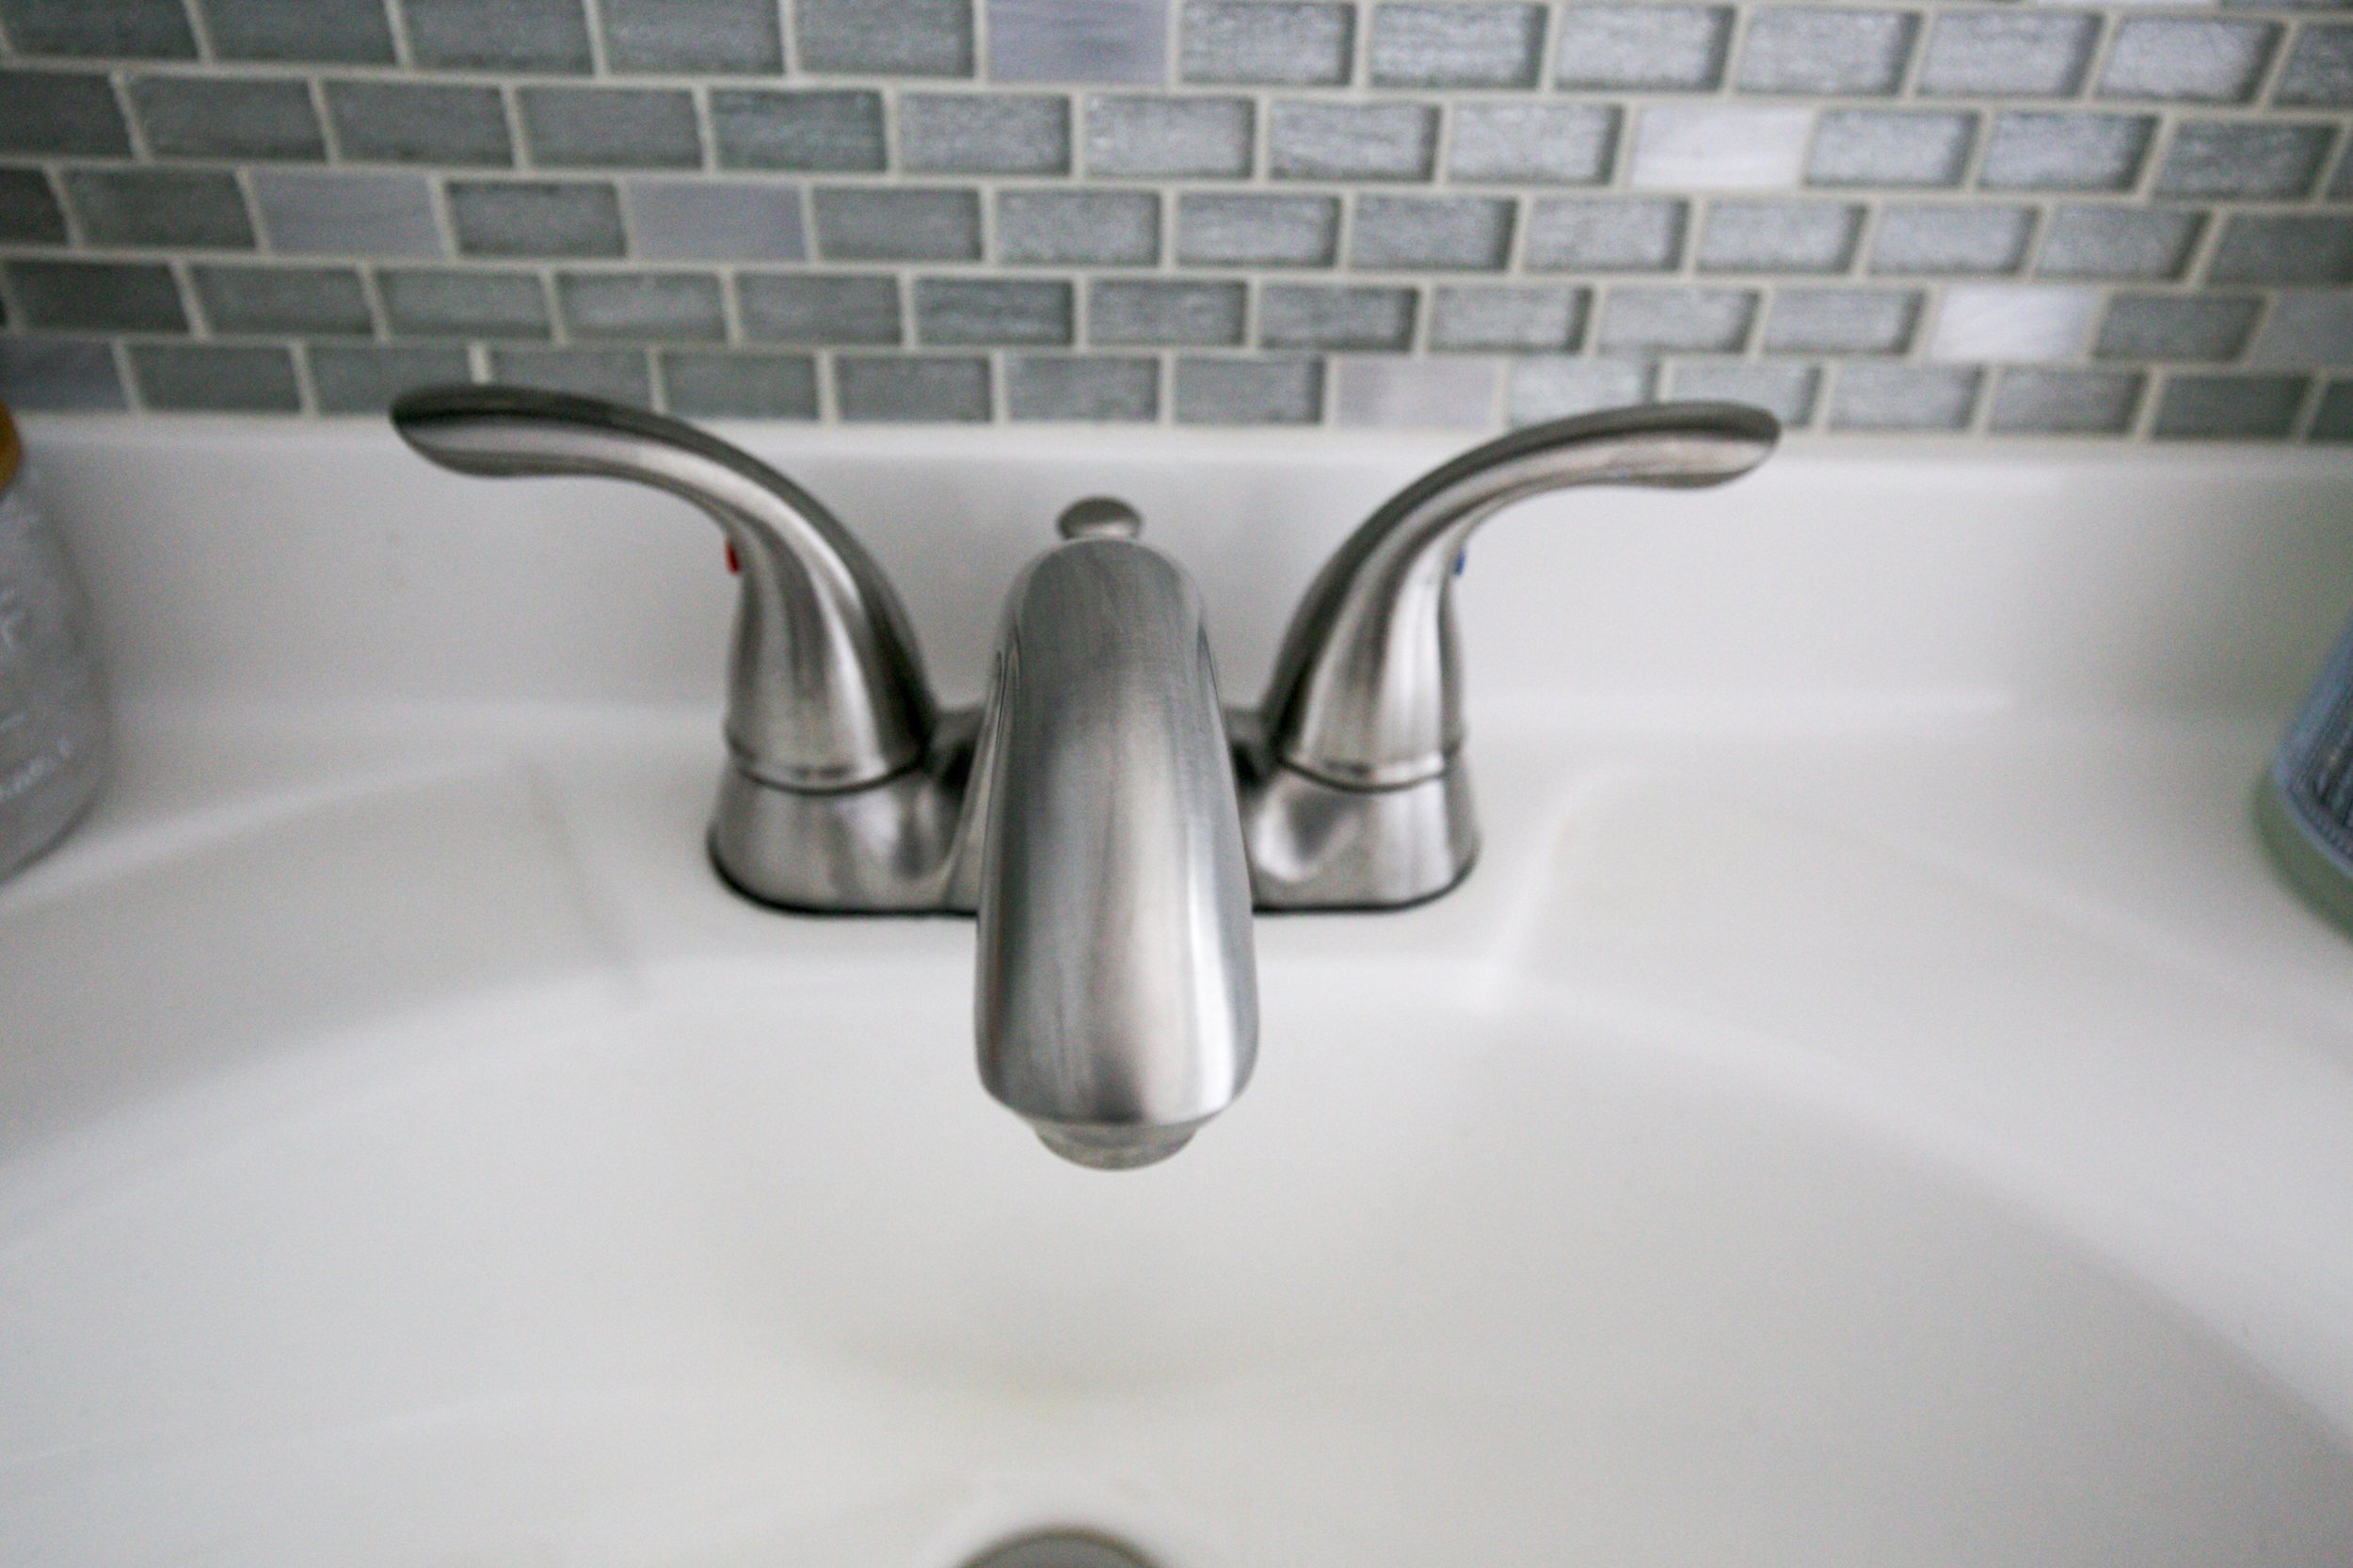
Something else that we did early on (before moving in) was add some tile backsplash behind the sink.  This is one of my favorite things we did to this room!  It really helped transform it & add a little something extra to a boring bathroom.  We used this tile backsplash from Home Depot.  I love the look of the mixed glass & stainless steel tiles...I think it matches our paint color perfectly.

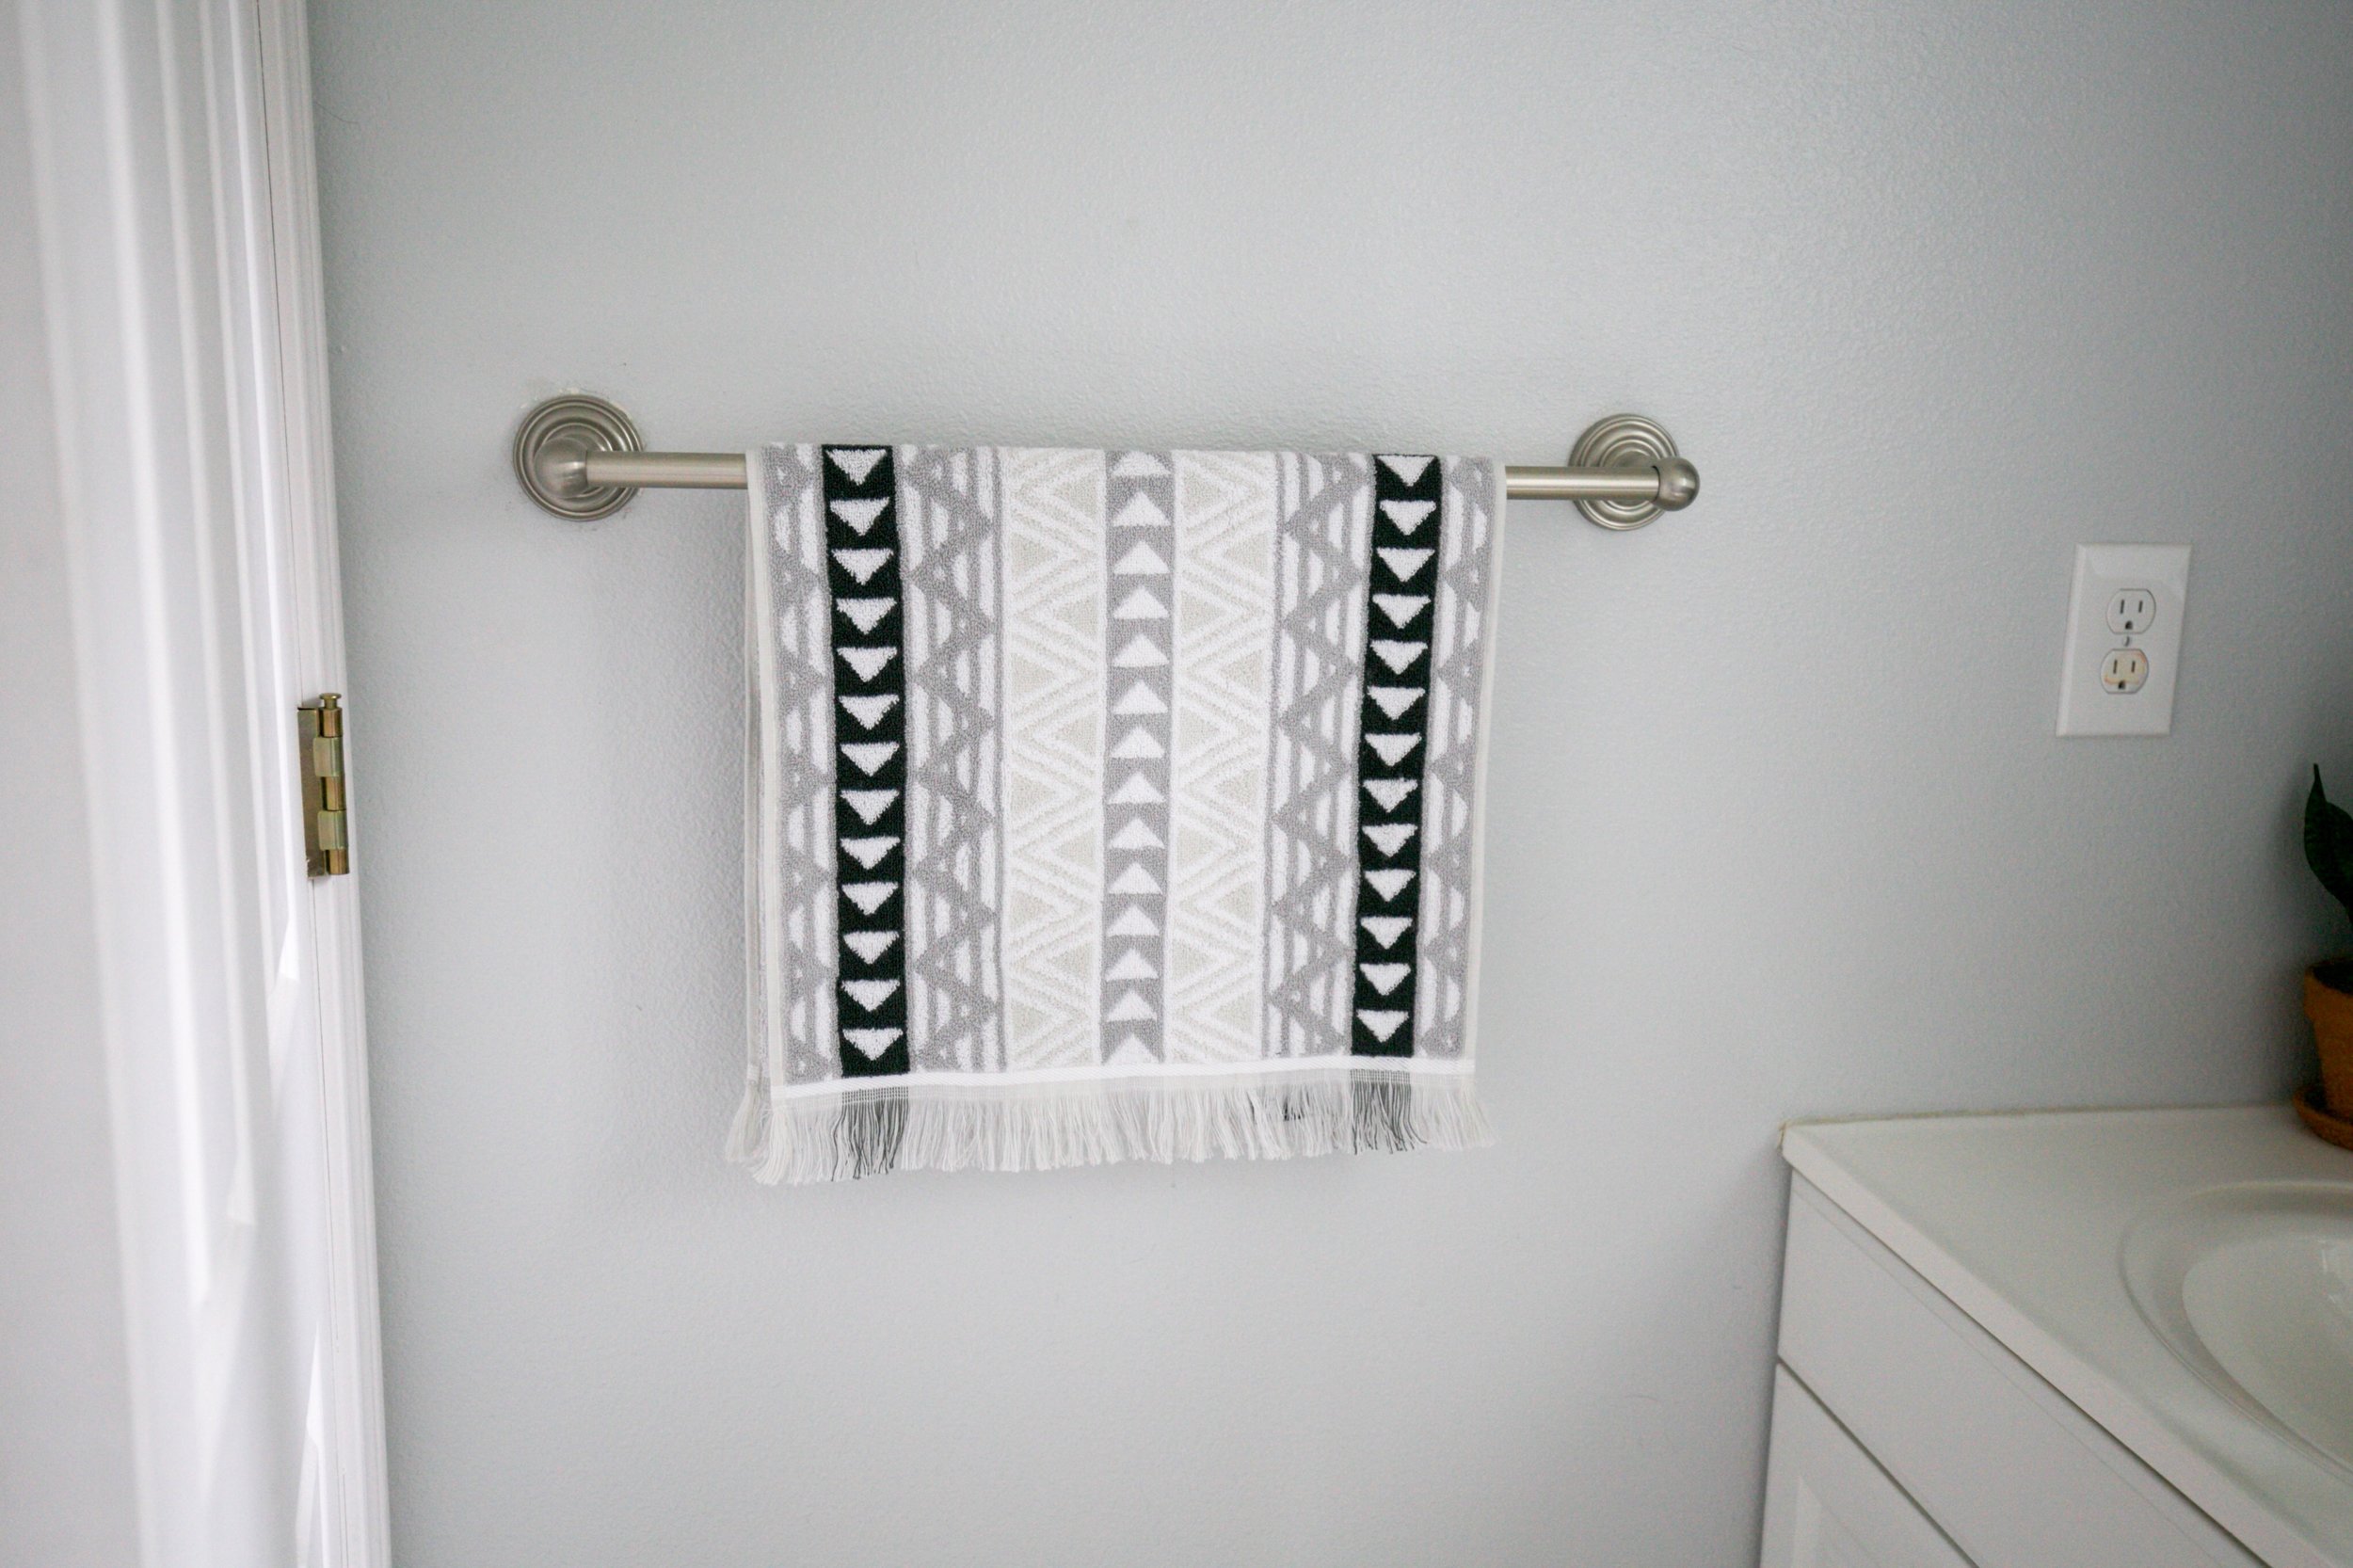
When we moved in, this bathroom (& the whole house) had gold fixtures everywhere.  The faucet, light & towel ring/toilet paper holder were all that brassy gold color.  We quickly switched those out to brushed nickel & it looks so much better!  

I'm excited to share the rest of our house with you soon!  Thank you for reading about our little bathroom makeover! :) XOXO

Shelving Project

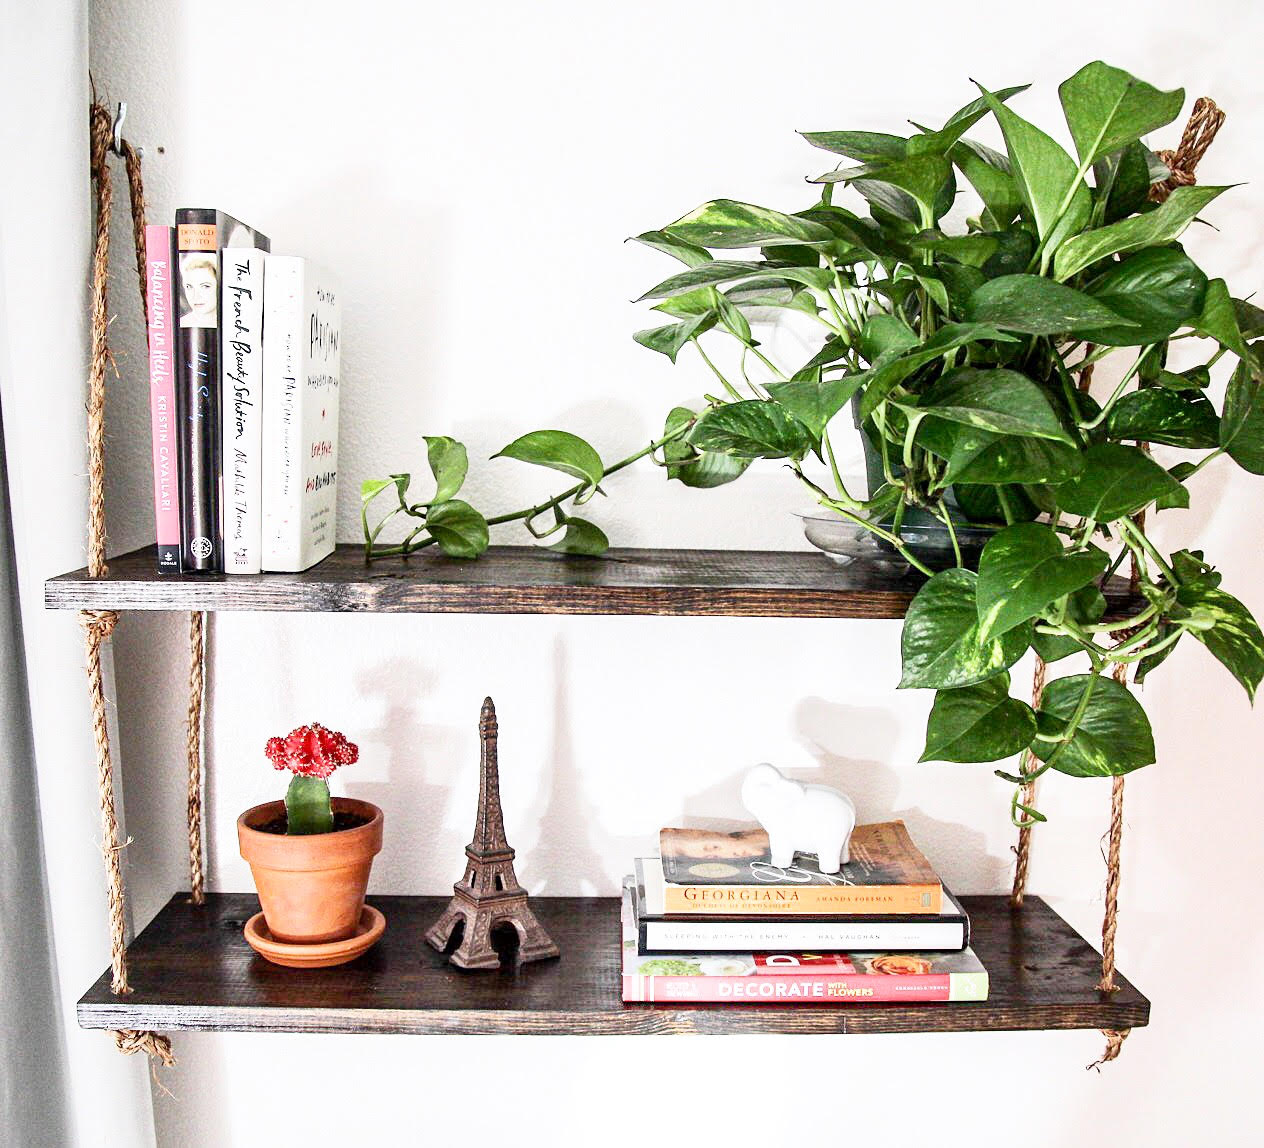
Over the past week, Sean & I have been working on a project that I have been wanting to do for awhile now -- some shelves!  When we moved into our house, I really wanted some sort of open shelving in the kitchen.  Since tearing out our cabinets & replacing them with shelves was out of the question, I thought that making some & placing them next to the kitchen would be a nice alternative.  This ended up working out great because it offers a nice way for me to display my books & some plants.  Here is how we made it!

We bought one piece of wood (sized to our preference) & some Minwax wood stain in the color dark walnut.  The first step was to stain the wood!  We let the board dry for about 24 hours.  Once it was dry, we measured the wall where we wanted to hang the shelves so we could cut the board accordingly.  

Once the boards were cut (& after some more staining) it was time to drill the holes.  This was my first time ever using a saw & a drill with that weird bit thing to make the holes.  I was intimidated at first to use the power tools, but I am glad that I'm learning!  Hopefully that means I will be able to make more projects like this in the future :)

Next, rope was used to connect the shelves, hooks were screwed into the wall & then...

Shelving Project | Forever Fuller

...we had the finised product!  I'm so happy with it & think it turned out pretty great!  What do you think?  XOXO